
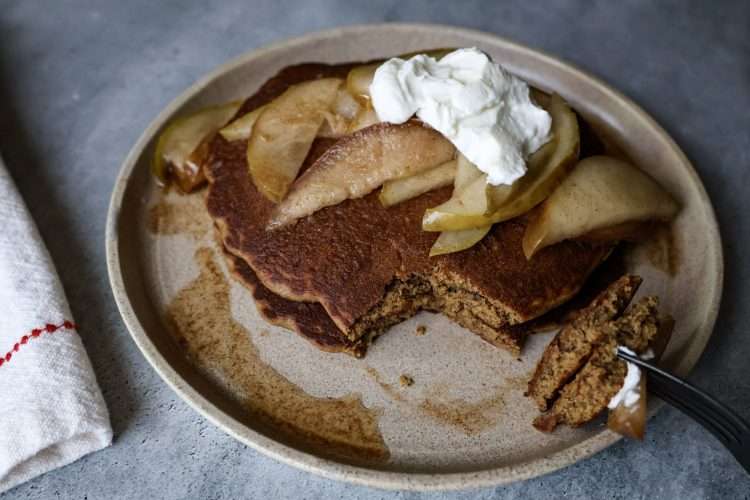
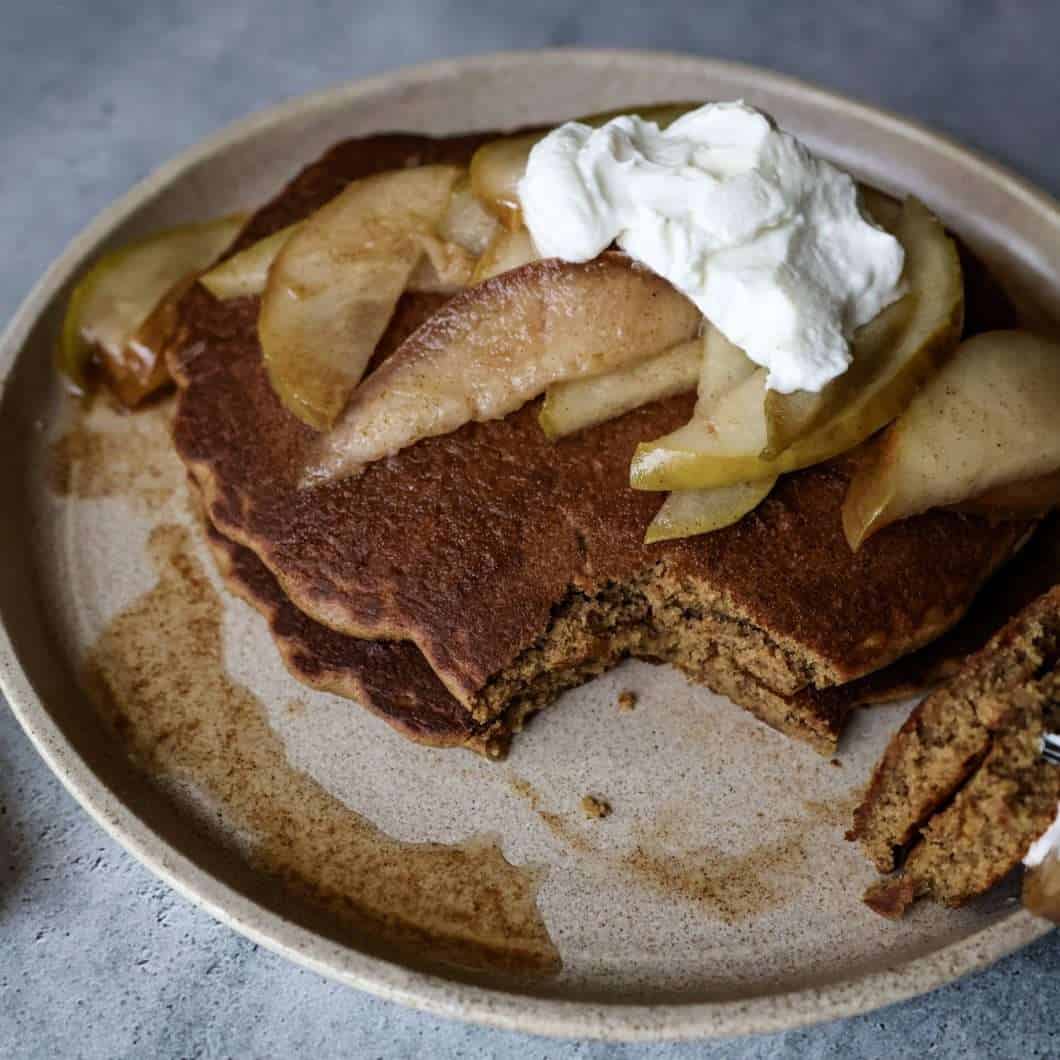
Gluten-Free Gingerbread Pancakes with Spiced Pears
These flavorful gingerbread pancakes are the perfect holiday breakfast! Sweet spiced pears add the finishing touch and buckwheat flour provides a little nuttiness.
6
servings20
minutes20
minutesKeep the screen of your device on
Dry Ingredients
1/2 cup buckwheat flour
1/2 cup brown rice flour
1/2 cup oat flour
1/4 cup tapioca starch
1 1/2 tsp baking powder
1/2 tsp fine sea salt
1 tsp ground ginger
1 tsp ground cinnamon
1/4 tsp ground cloves
1/4 tsp ground allspice
- Wet ingredients
2 eggs
2 Tbsp molasses
2 Tbsp maple syrup
1 tsp lemon juice
1/2 tsp vanilla paste or extract
1/4 cup melted coconut oil, extra for cooking
3/4 cup + 1 Tbsp milk of choice (I use homemade nut milk)
- For the spiced pears
2-3 ripe but firm pears, cored and thinly sliced (leave on skins if organic)
juice of 1 orange
1/4 tsp each ground clove and nutmeg
1/2 tsp cinnamon
1/4 tsp fine sea salt
1 Tbsp maple syrup
- Optional
plain creamy coconut yogurt (or your favorite Greek style yogurt) to serve
Directions
- In a medium bowl, whisk together all the dry ingredient.
- In another medium bowl whisk together all the wet ingredients until thoroughly combined.
- Add the dry ingredients into the wet ingredients and whisk vigorously until you have one smooth batter. Let the batter rest in the bowl for 5 minutes to allow it to thicken.*
- Heat a skillet (I like cast iron or enameled cast iron) to medium heat. Add a thin coating of coconut or avocado oil to the pan and, once hot, scoop ¼ cup of batter into the skillet. Cook until the top start to show bubbles, then flip the pancake and cook through (about another 2 minutes). Repeat with the remaining batter.
- In the meantime, make the spiced pear topping by adding all ingredients into a medium sauce pan. Bring to a very gentle simmer and cook for approximately 10 minutes or until the pears have nicely softened, but still hold their structure.
Serve the pancakes with spiced pears and a dollop of plain coconut yogurt or with your favorite pancake toppings!**
Notes
- *Letting the batter rest for a few minutes before scooping it into the hot pan will allow it to thicken, which will lead to fluffier pancakes. If you add the batter to the pan right away or if your pan is not hot enough, you will end up with thinner and more brittle pancakes. If you batter appears to thick, add another Tbsp of milk. If it appears to thin, add another Tbsp of oat flour.
- **This recipe makes a total of 10-12 pancakes.
- ***Store any leftovers in an airtight container in the fridge for up to 3 days. Reheat on a baking sheet in the oven at 250F. If left uncovered, they will become crispy. Cover with another baking sheet (flipped upside down) to retain moisture and original texture.