
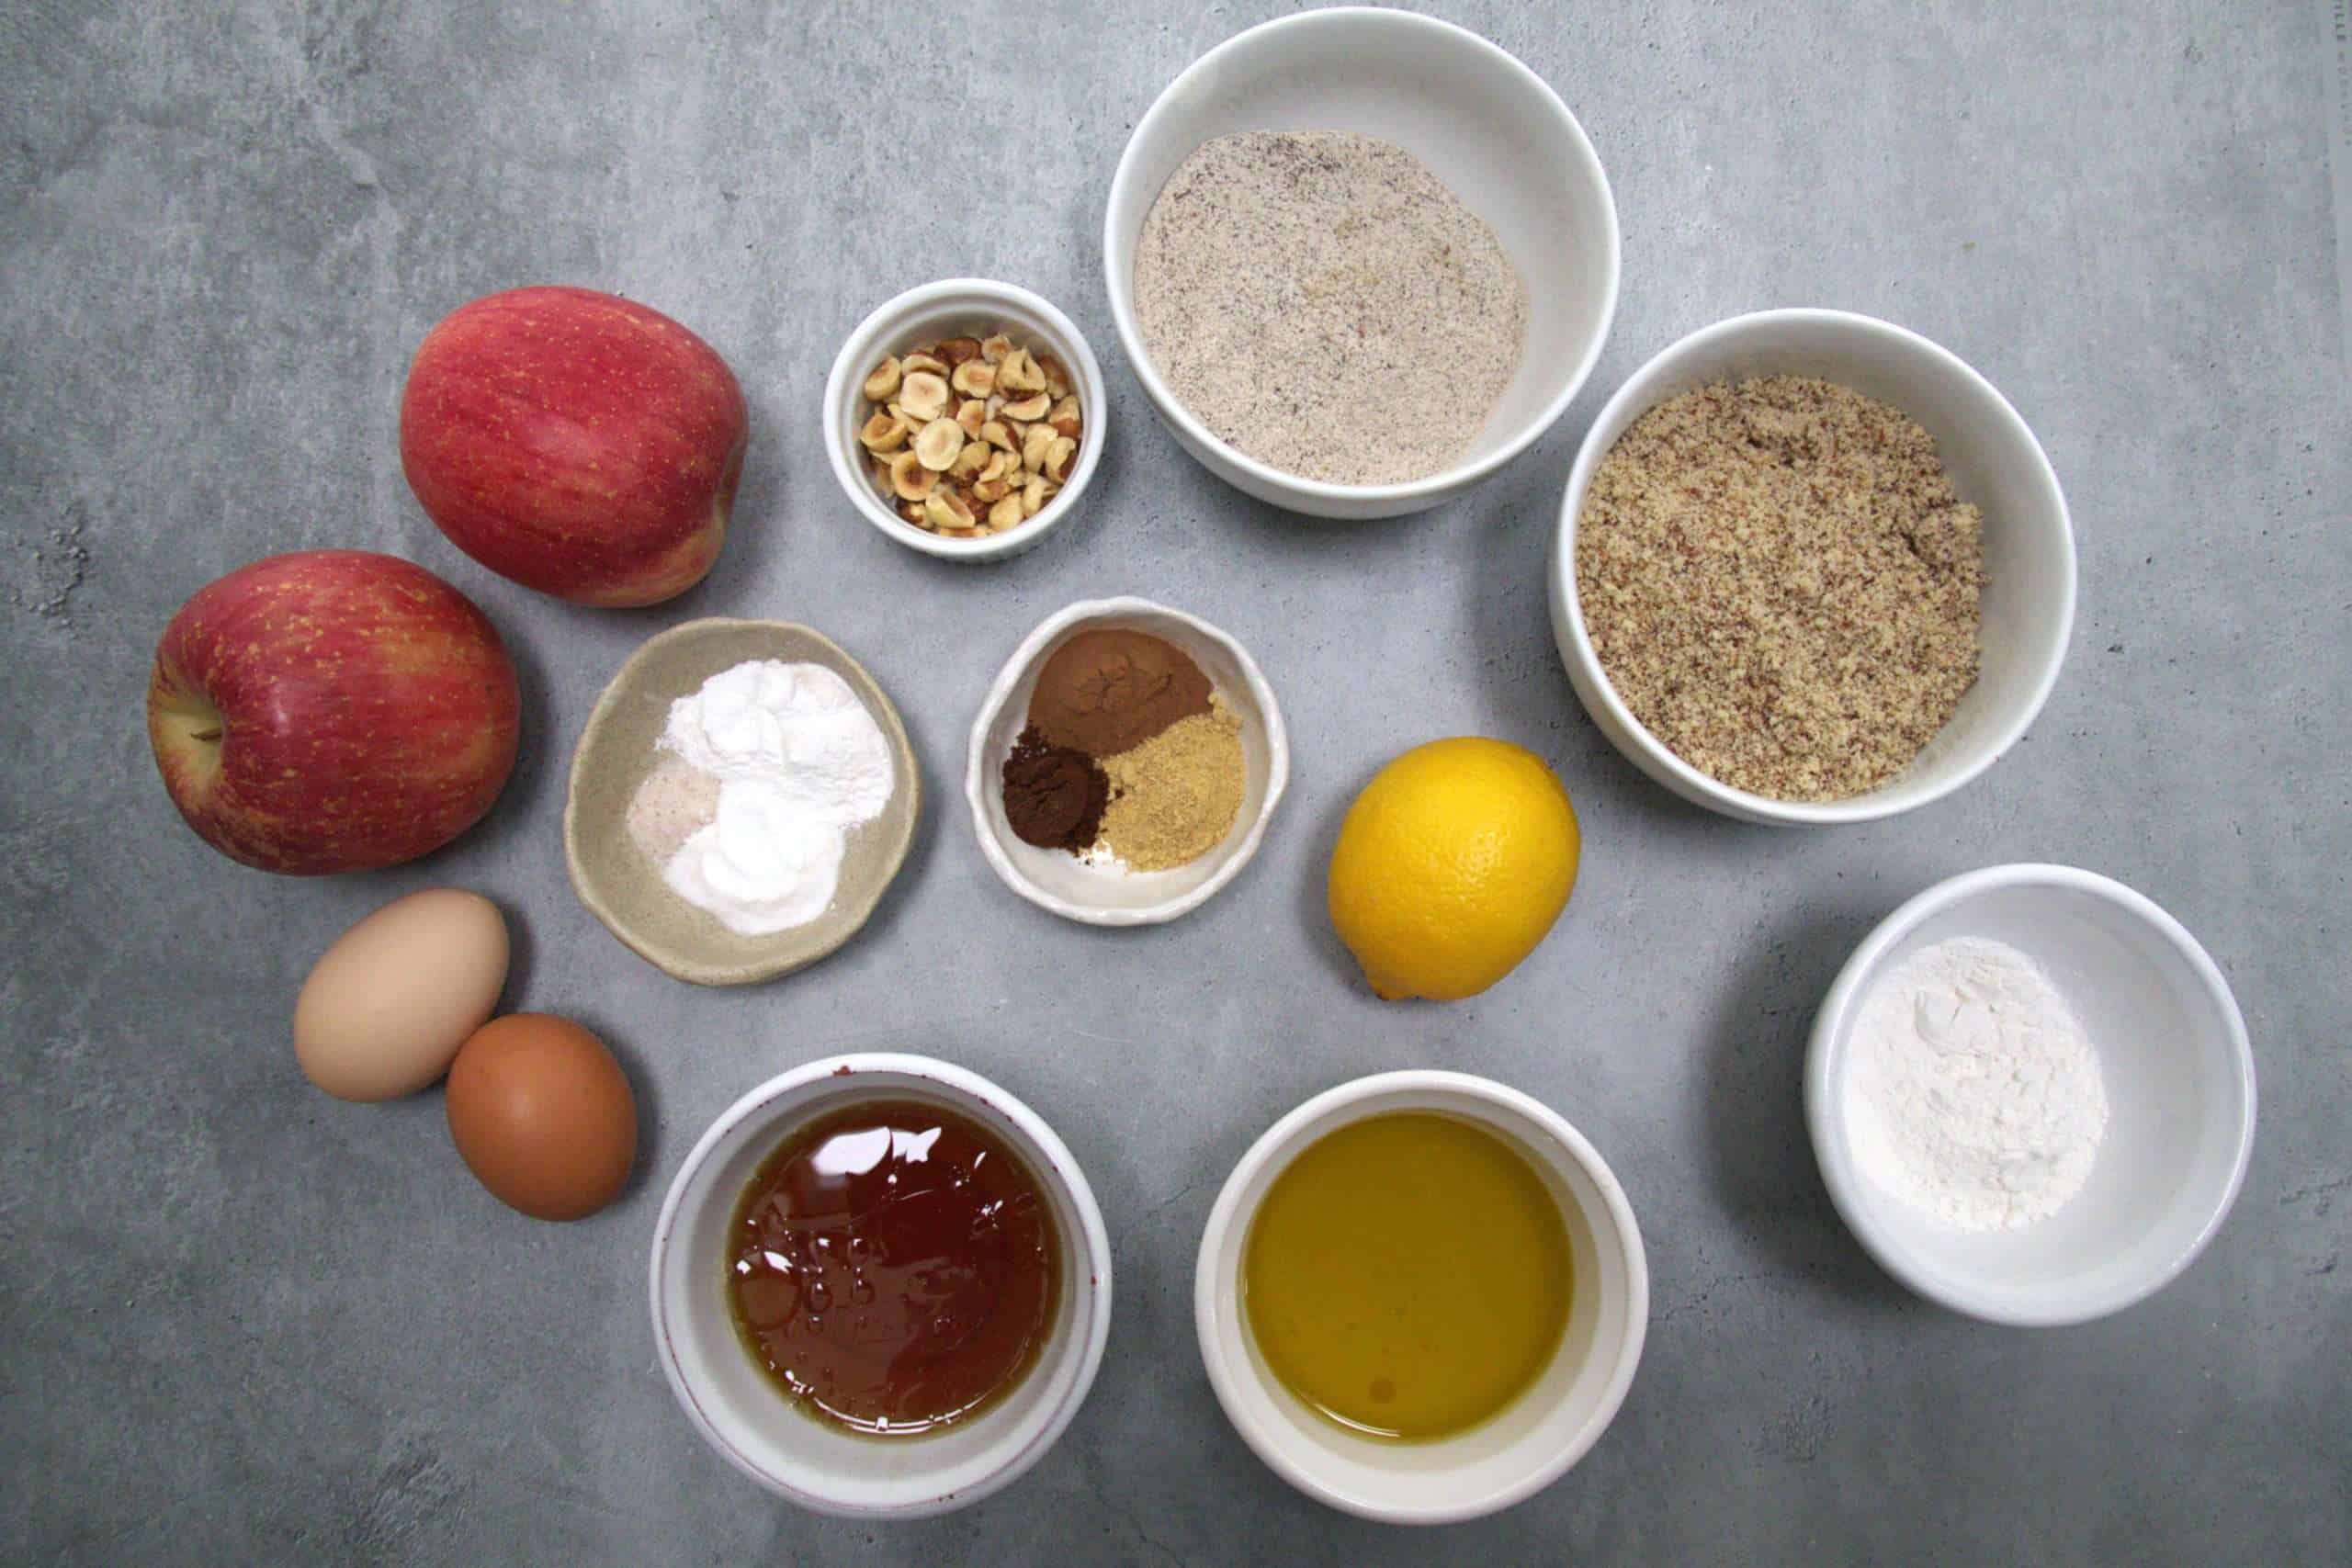
Gather all ingredients: Apples, lemon, eggs, hazelnuts, buckwheat flour, hazelnut flour, tapioca flour, baking soda, baking powder, fine sea salt, cinnamon, ground ginger, ground clove, maple syrup, extra virgin olive oil.
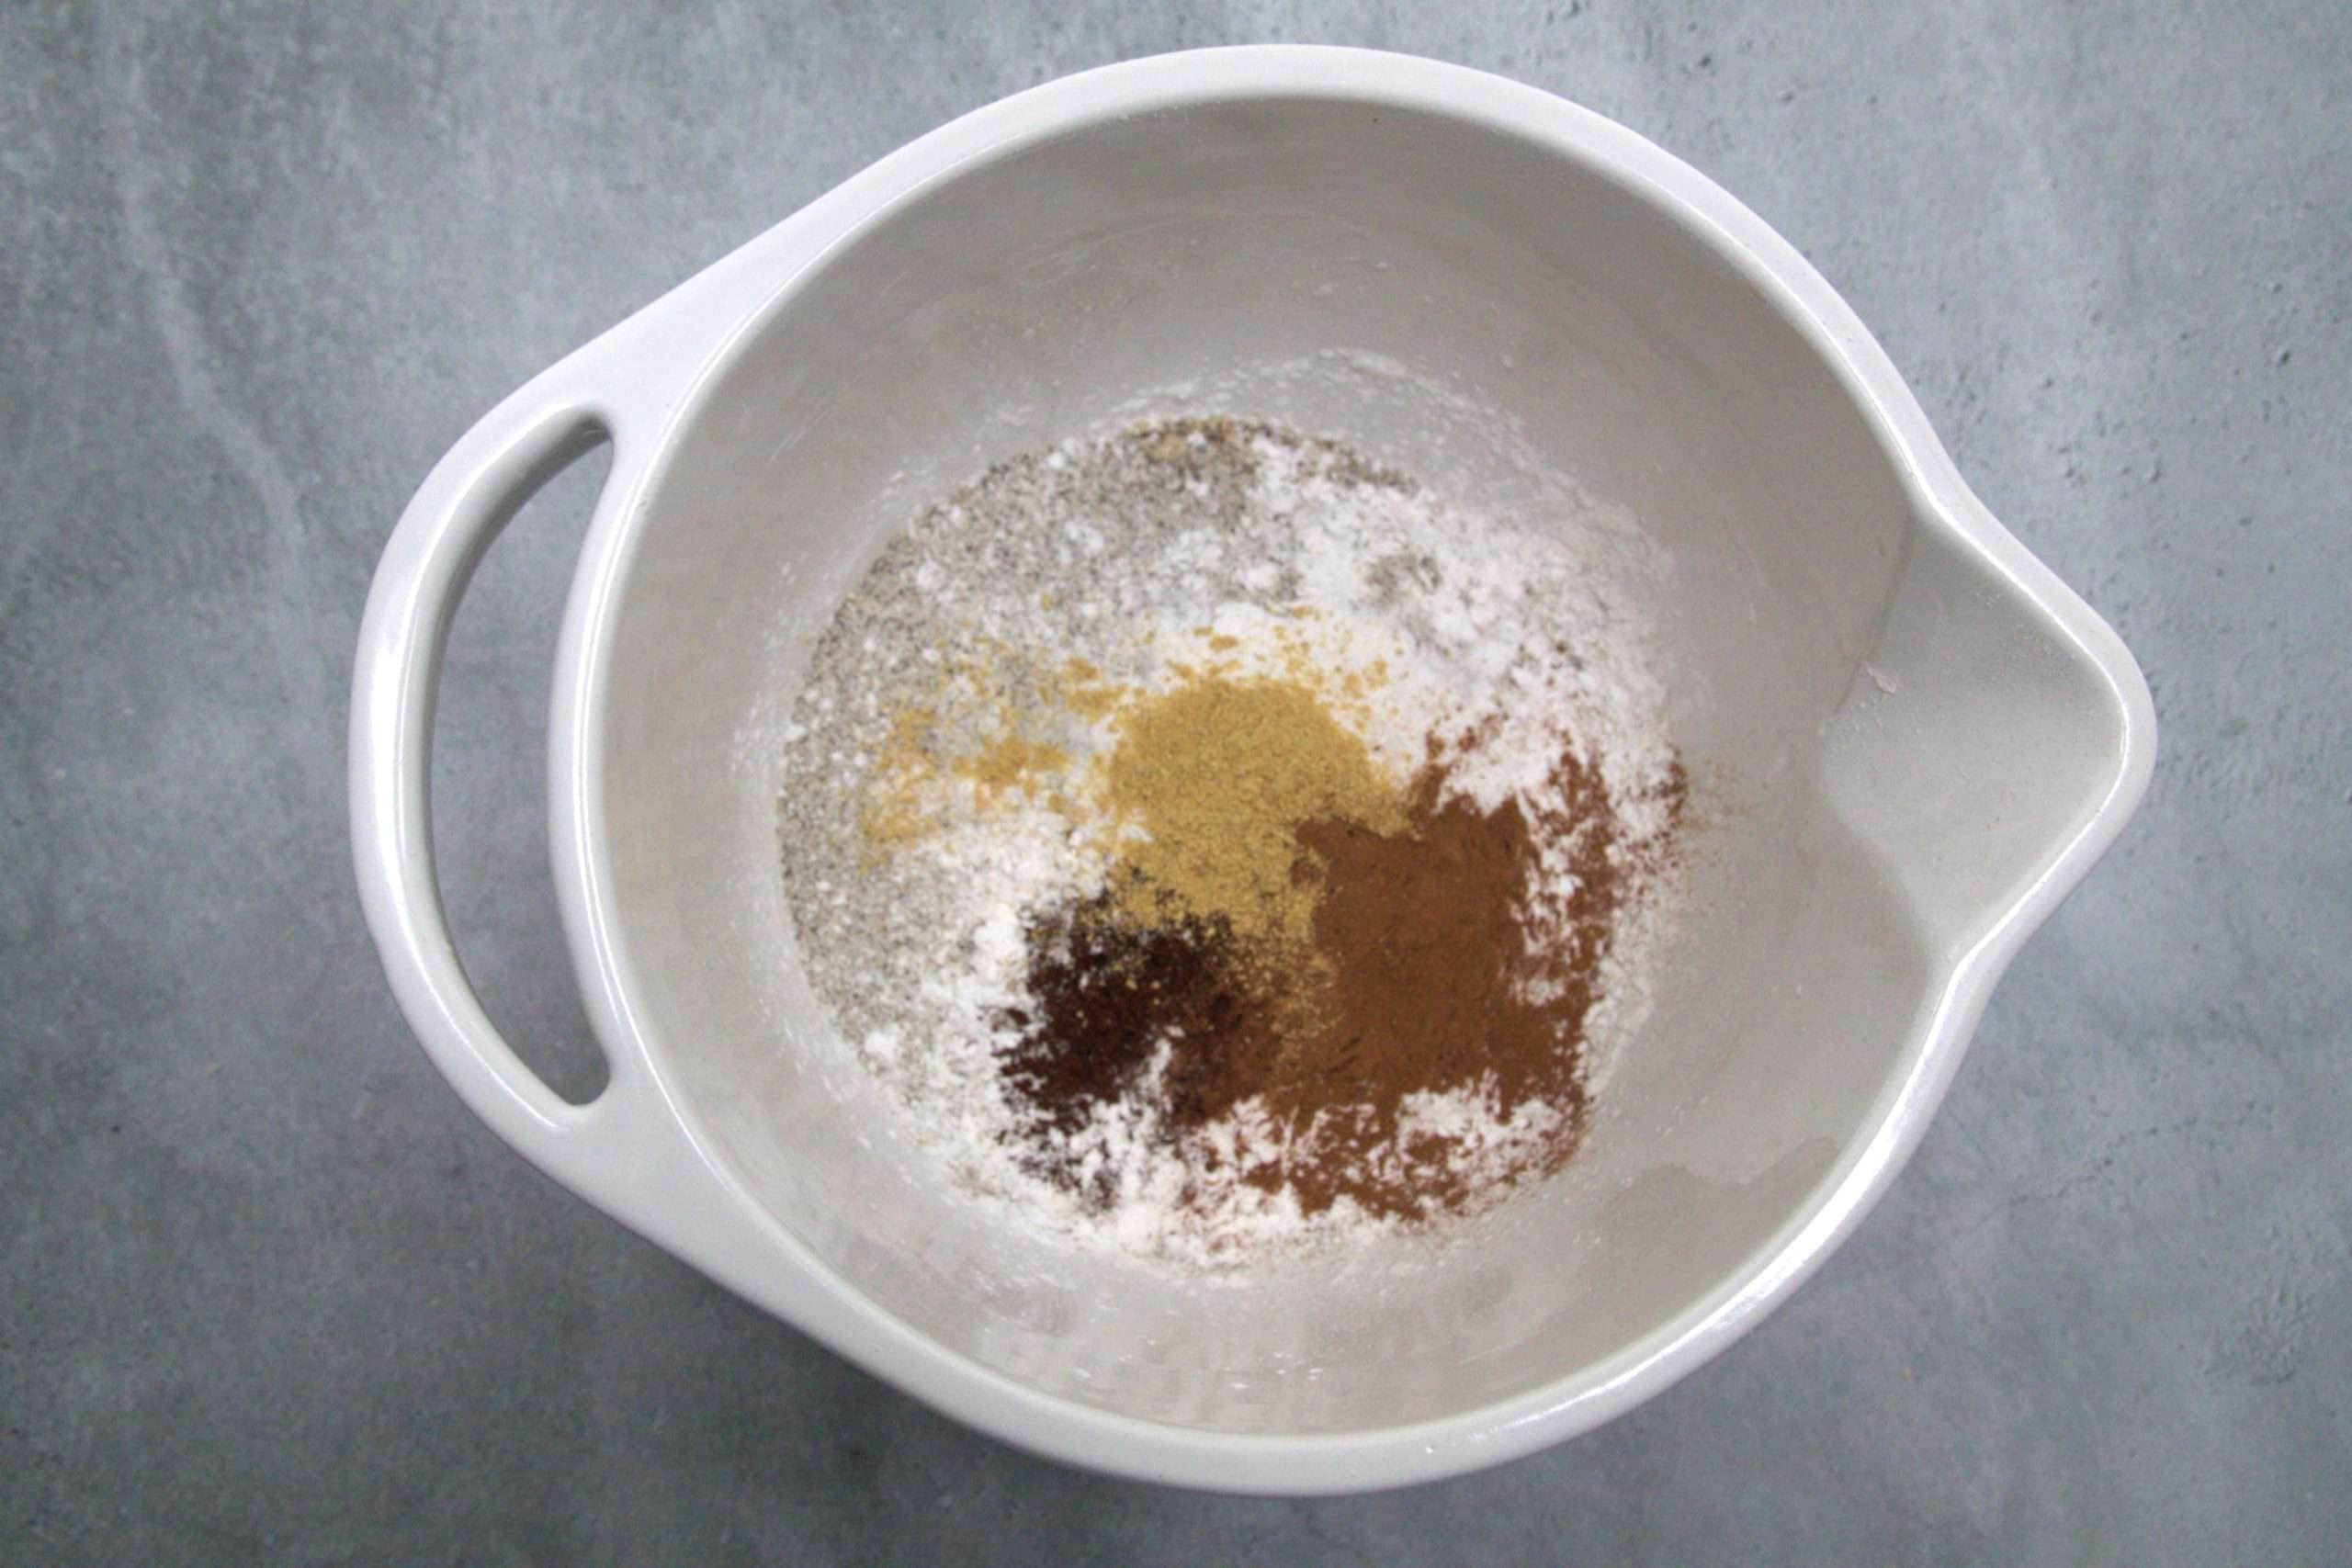
In a medium bowl, whisk together the hazelnut flour, buckwheat flour, tapioca flour, baking powder, baking soda, sea salt, ground cinnamon, ground ginger and ground cloves.

Combine the extra virgin olive oil, maple syrup, eggs, lemon juice and zest in another medium bowl and whisk to combine thoroughly.
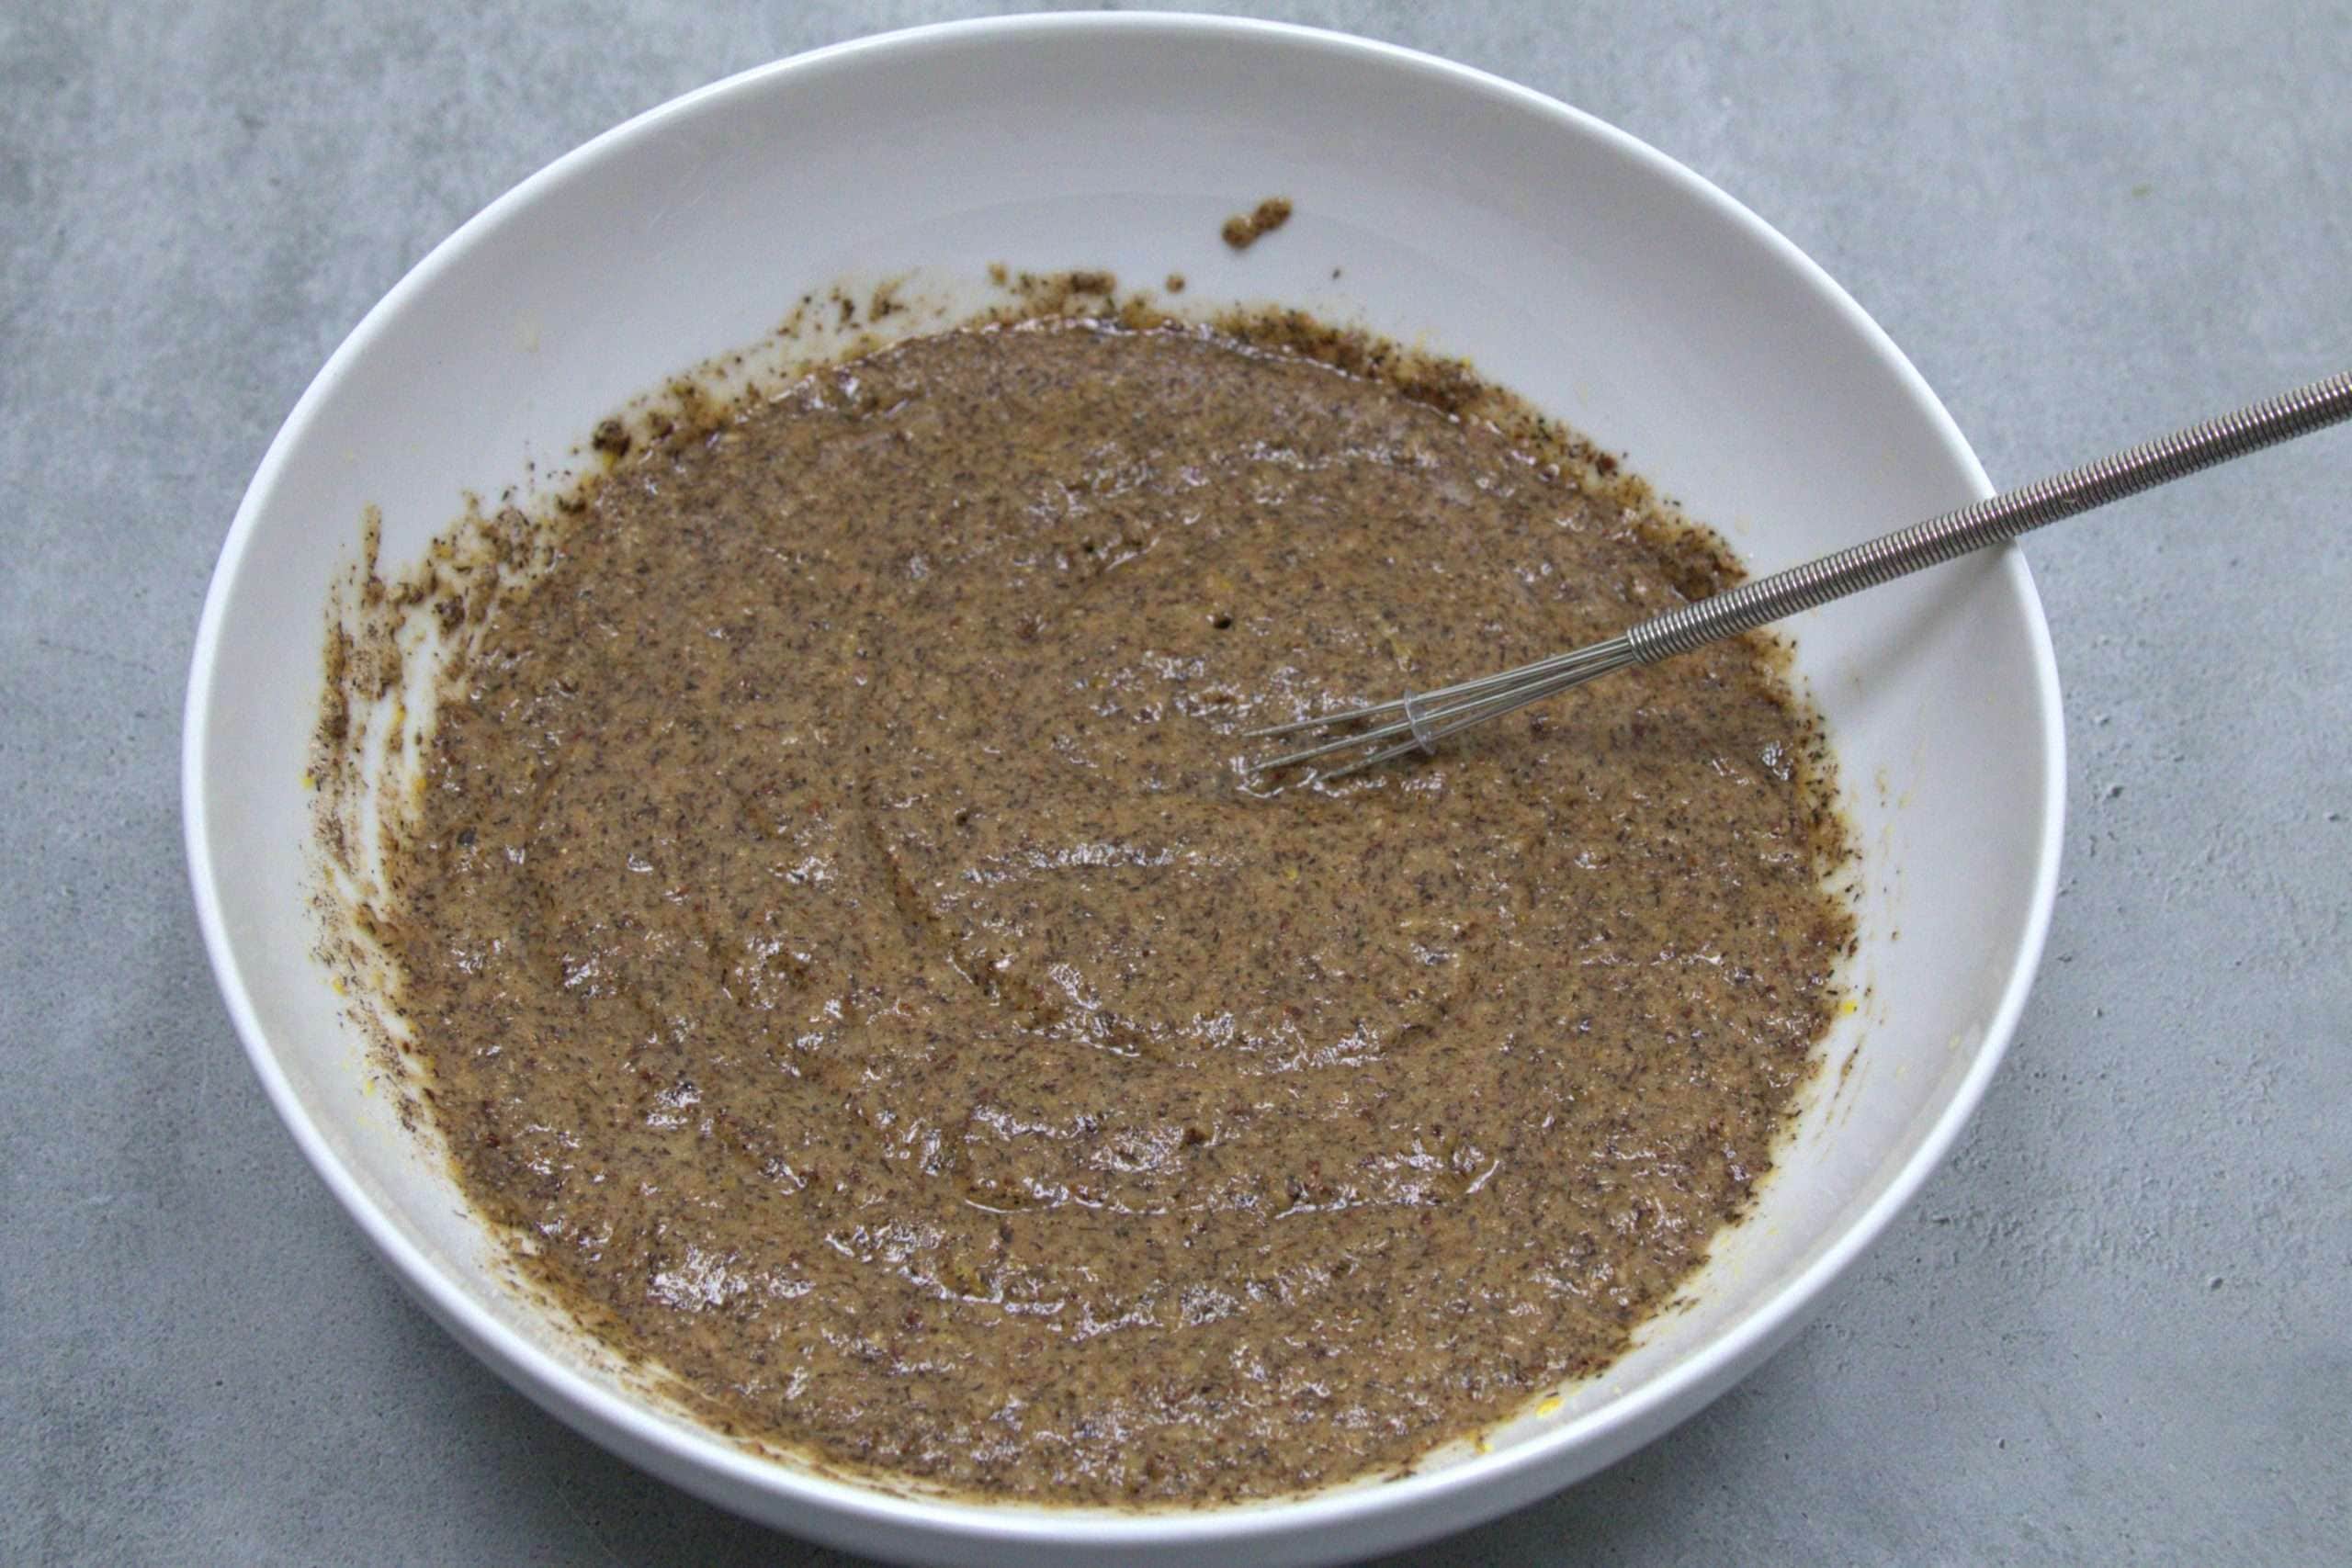
Add the flour mixture into the wet ingredients and whisk until smooth.
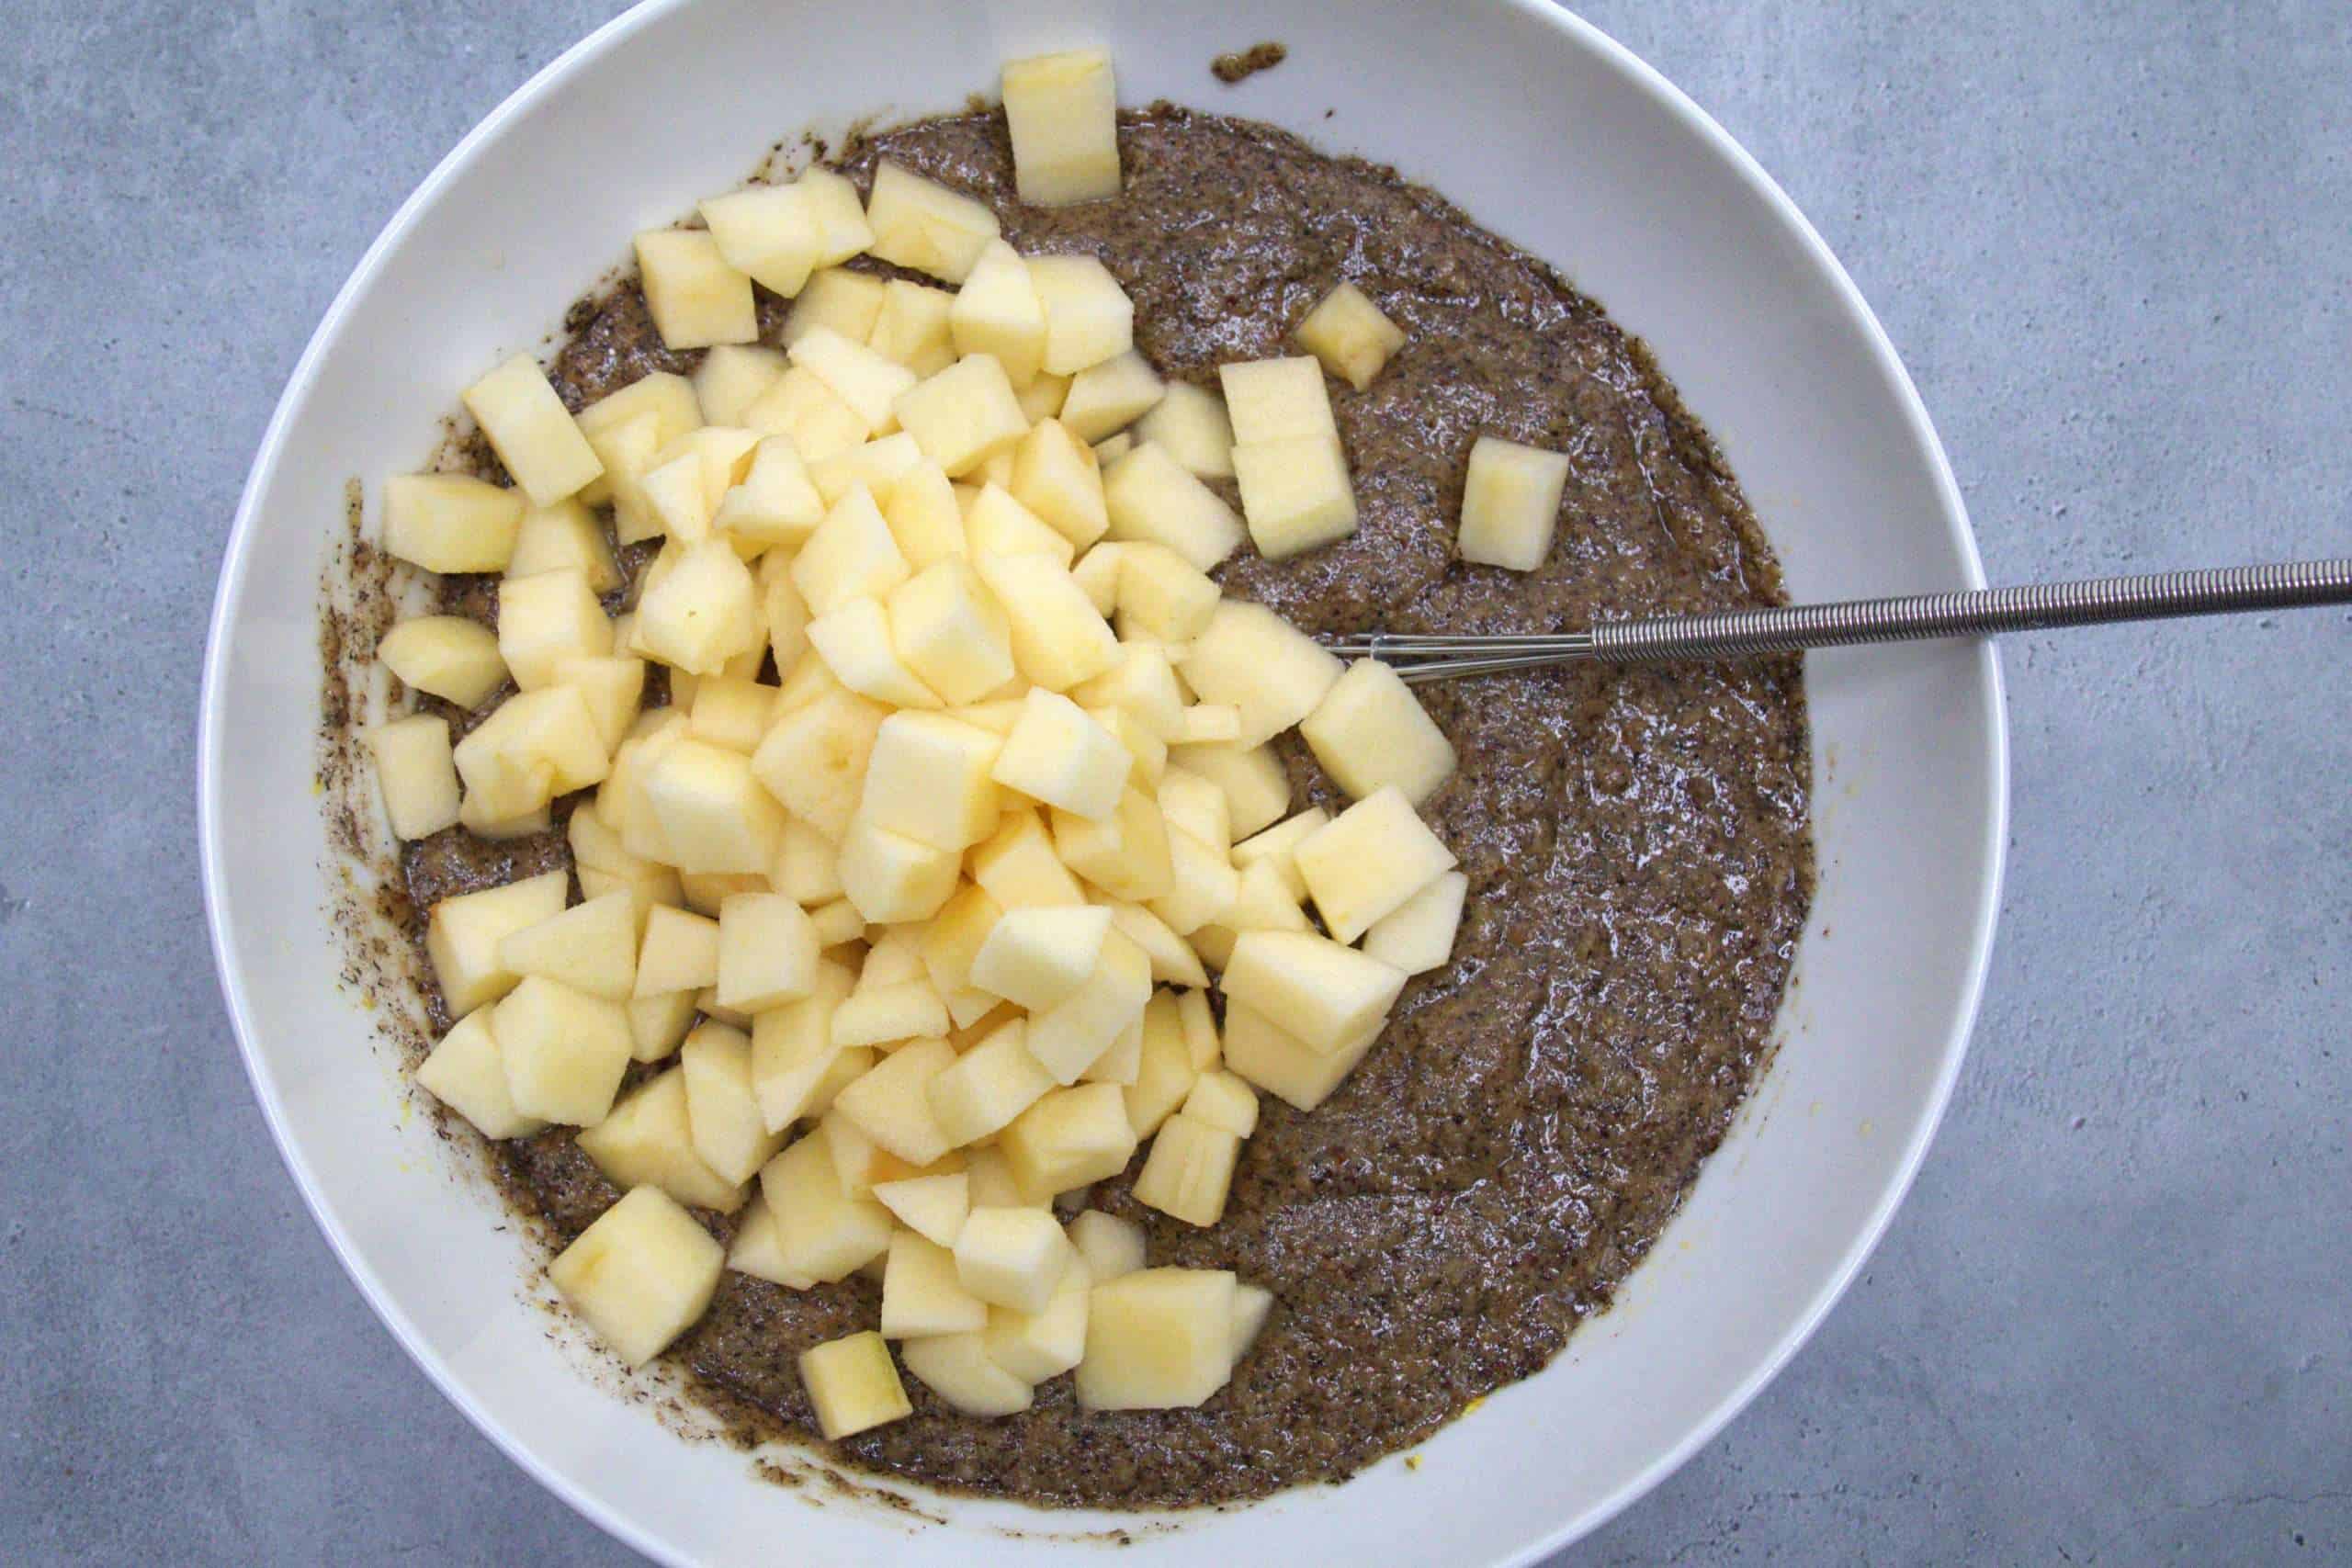
Gently stir in the peeled and diced apples.
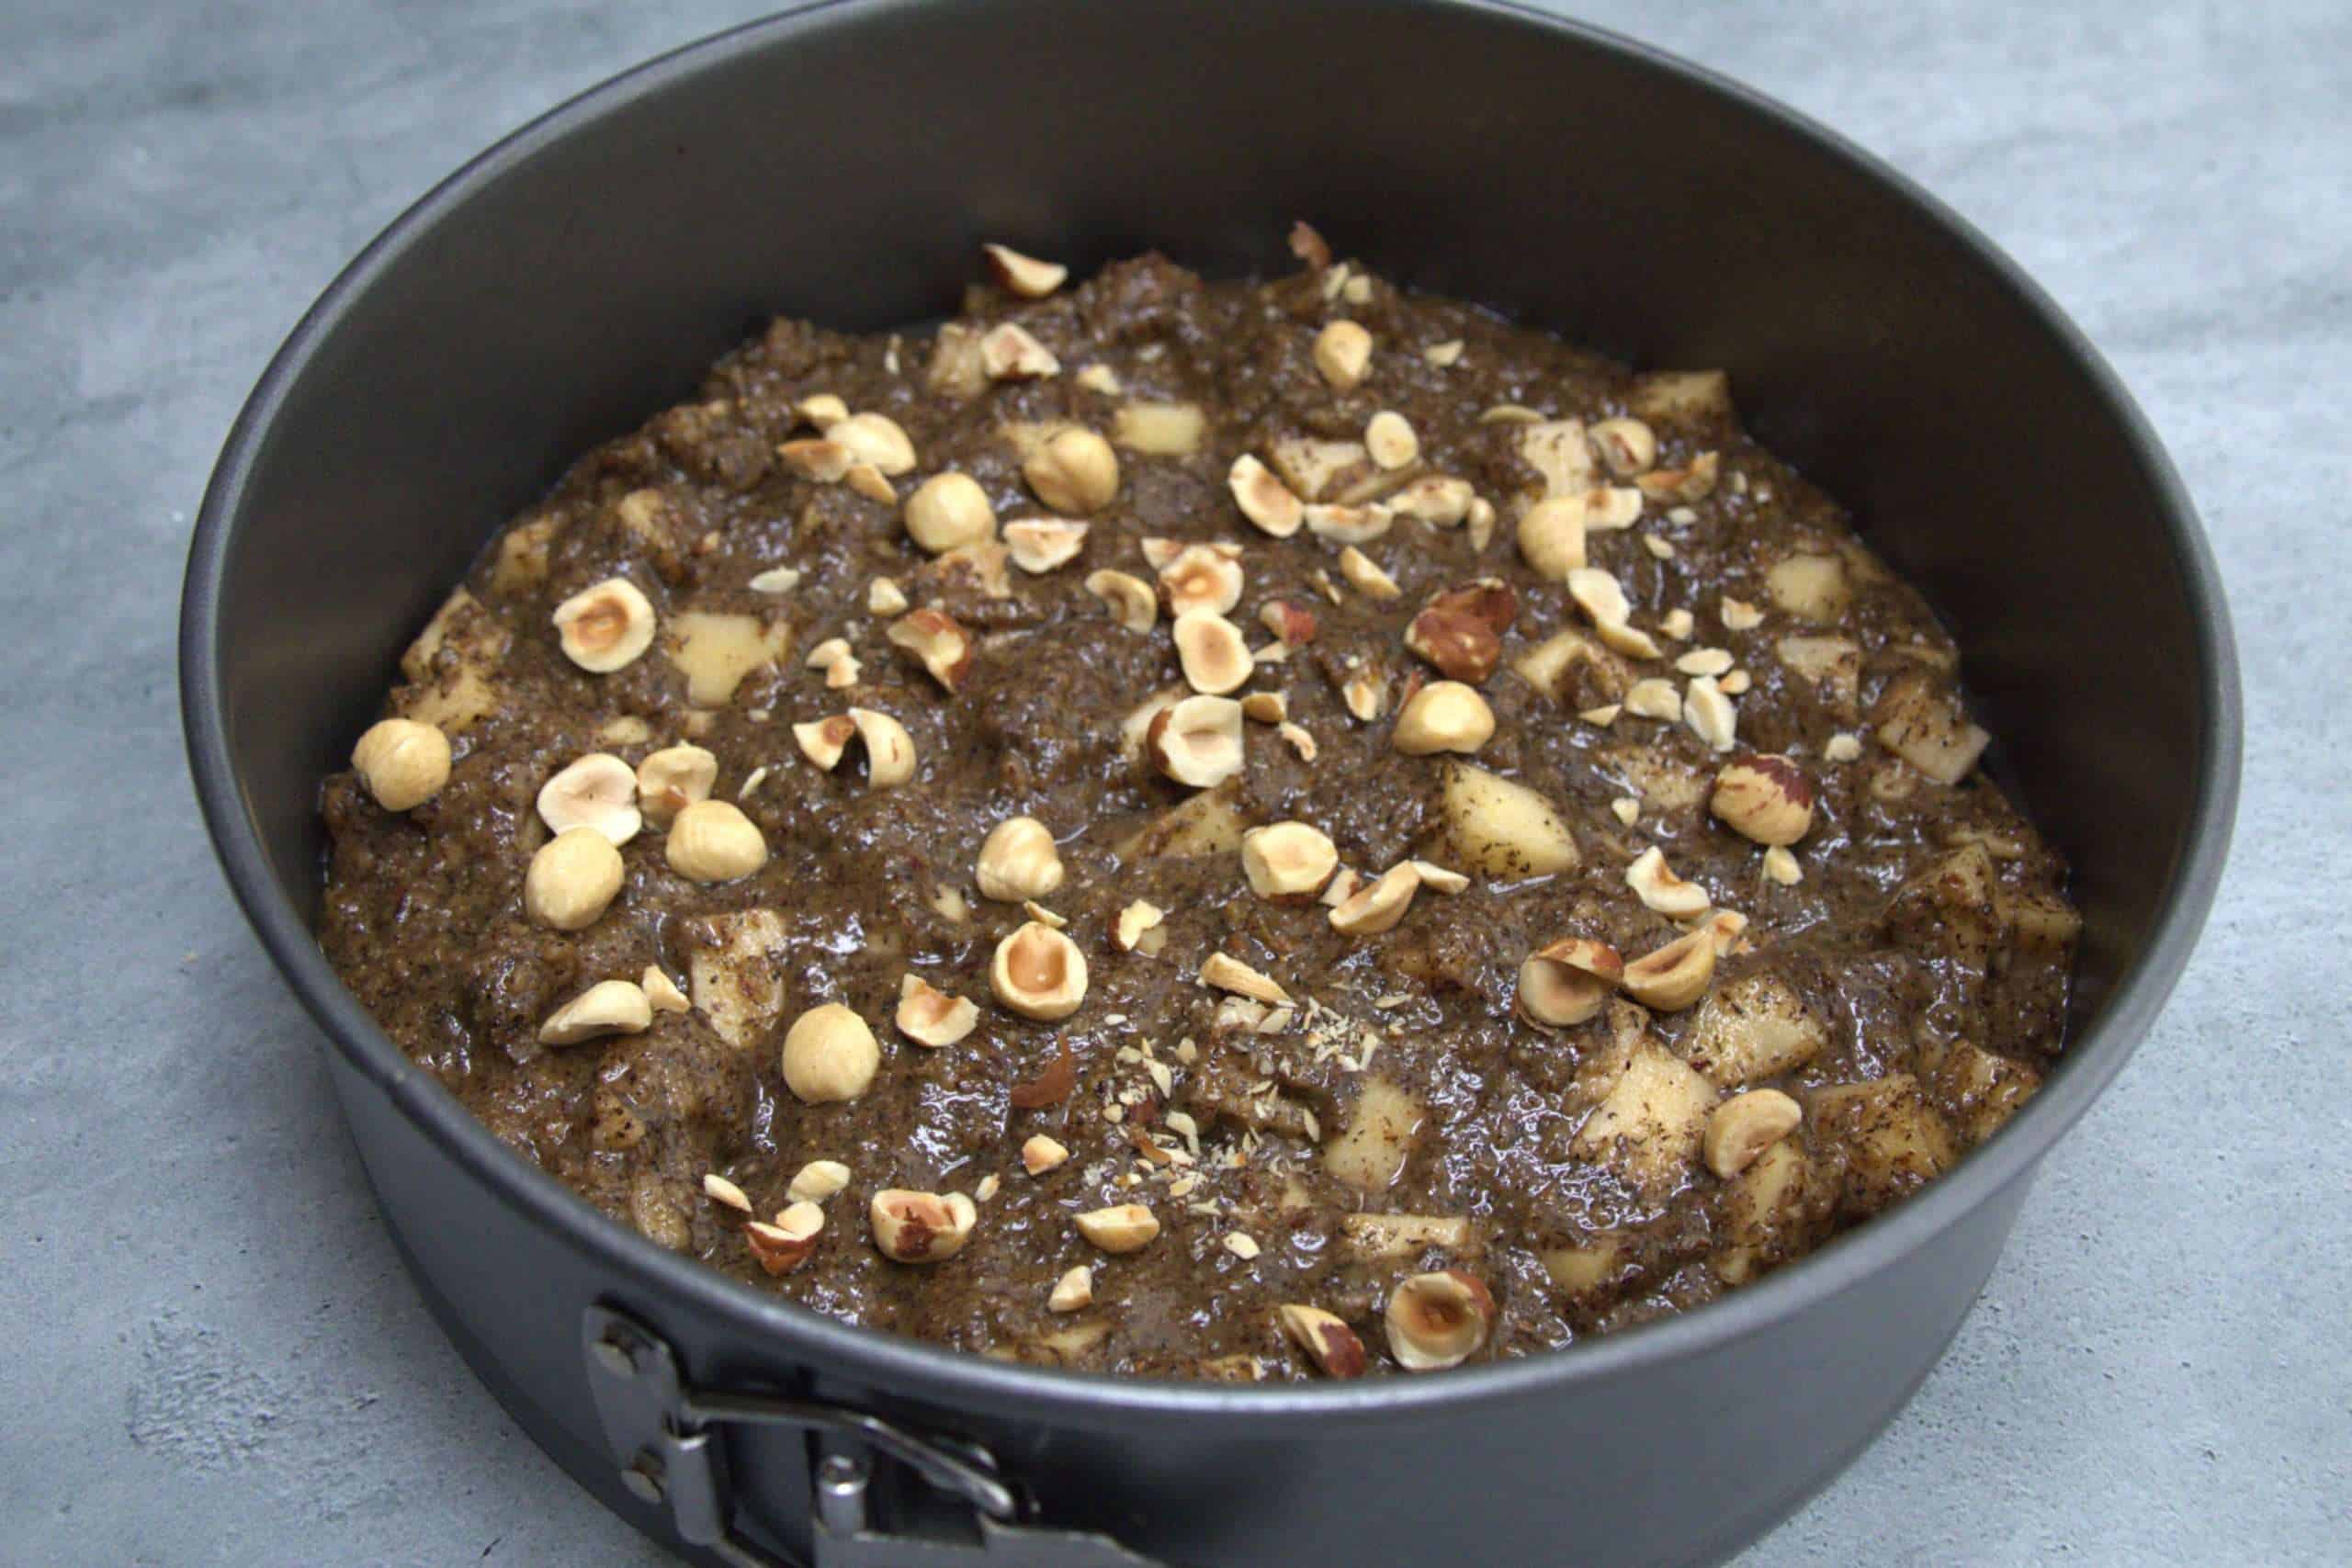
Pour the batter into the prepared pan and sprinkle with the chopped hazelnuts.
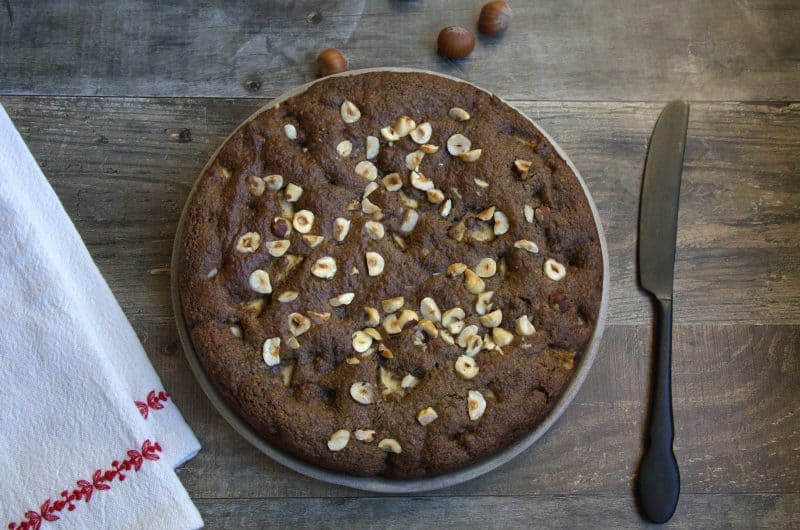
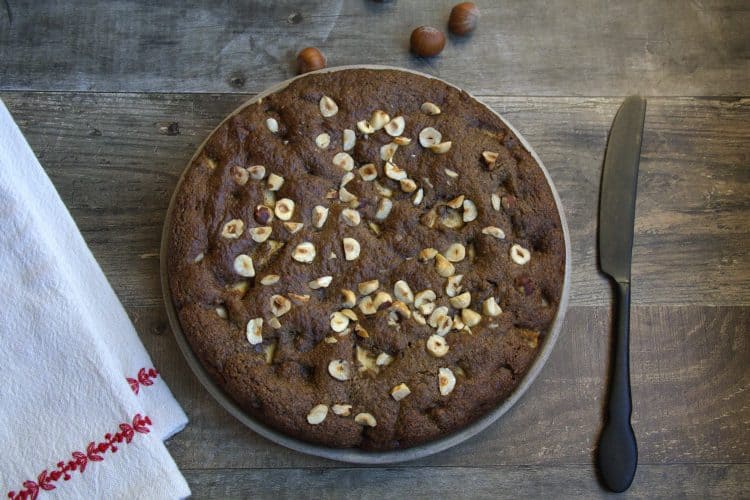
Hazelnut and Apple Coffee Cake with Buckwheat
This rustic coffee cake is wonderfully nutty and filled with juicy apples. It comes together in a snap and makes for a wonderful breakfast or afternoon treat!
12
servings20
minutes25
minutesKeep the screen of your device on
Ingredients
- Dry Ingredients
1 cup hazelnut flour
1/2 cup buckwheat flour
1/4 cup tapioca flour
1 1/2 tsp baking powder
1/2 tsp baking soda
1 tsp psyllium husk*
1/4 tsp fine sea salt
1 tsp ground cinnamon
1/2 tsp ground ginger
1/4 tsp ground cloves
- Wet Ingredients
1/3 cup mild extra virgin olive oil or avocado oil (extra for greasing the pan)
1/3 cup maple syrup
2 eggs
juice and zest from one organic lemon (about 2 tbsp juice and 1 tsp zest)**
- Additional
2 apples, peeled and cut into 1/2 inch chunks***
2 tbsp hazelnuts, roughly chopped ****
Directions
- Preheat your oven to 350F and position a rack in the center of your oven. Lightly grease a 9-inch springform pan and line the bottom with parchment paper.
- In a medium bowl, whisk together the hazelnut flour, buckwheat flour, tapioca flour, baking powder, baking soda, sea salt, cinnamon, ginger and cloves. Set aside.
- In another medium bowl, whisk together the olive oil, maple syrup, eggs, lemon juice, and lemon zest until well combined.
- Add the dry ingredients to the wet ingredients and stir until a smooth batter forms. Gently fold in the chopped apples, then pour the batter into the prepared pan. Sprinkle the top with chopped hazelnuts and bake for approximately 25 minutes or until a toothpick inserted into the center of the cake comes out with just a few crumbs. Oven times can vary slightly!
- Remove from the oven and let cool for 10 minutes. At that point, carefully remove the outer ring (use oven mitts if needed) and let cool completely before serving.
Notes
- *If you don’t have psyllium husk powder, you can leave it out, but the cake may be a bit more delicate, as psyllium is a strong natural binding agent.
- **Be sure to use organic citrus whenever you plan to use the zest
- ***Pears also work wonderfully in this cake.
- ****If your hazelnuts are whole with their skin on, briefly toast them in a small sauté pan on low heat until some of the skins begin to fall off. Remove from the heat and turn them out onto a clean kitchen towel. Rub them inside the kitchen towel until most of the skins have come off (no need to remove every bit). Then roughly chop and top your cake with them before it goes into the oven.