
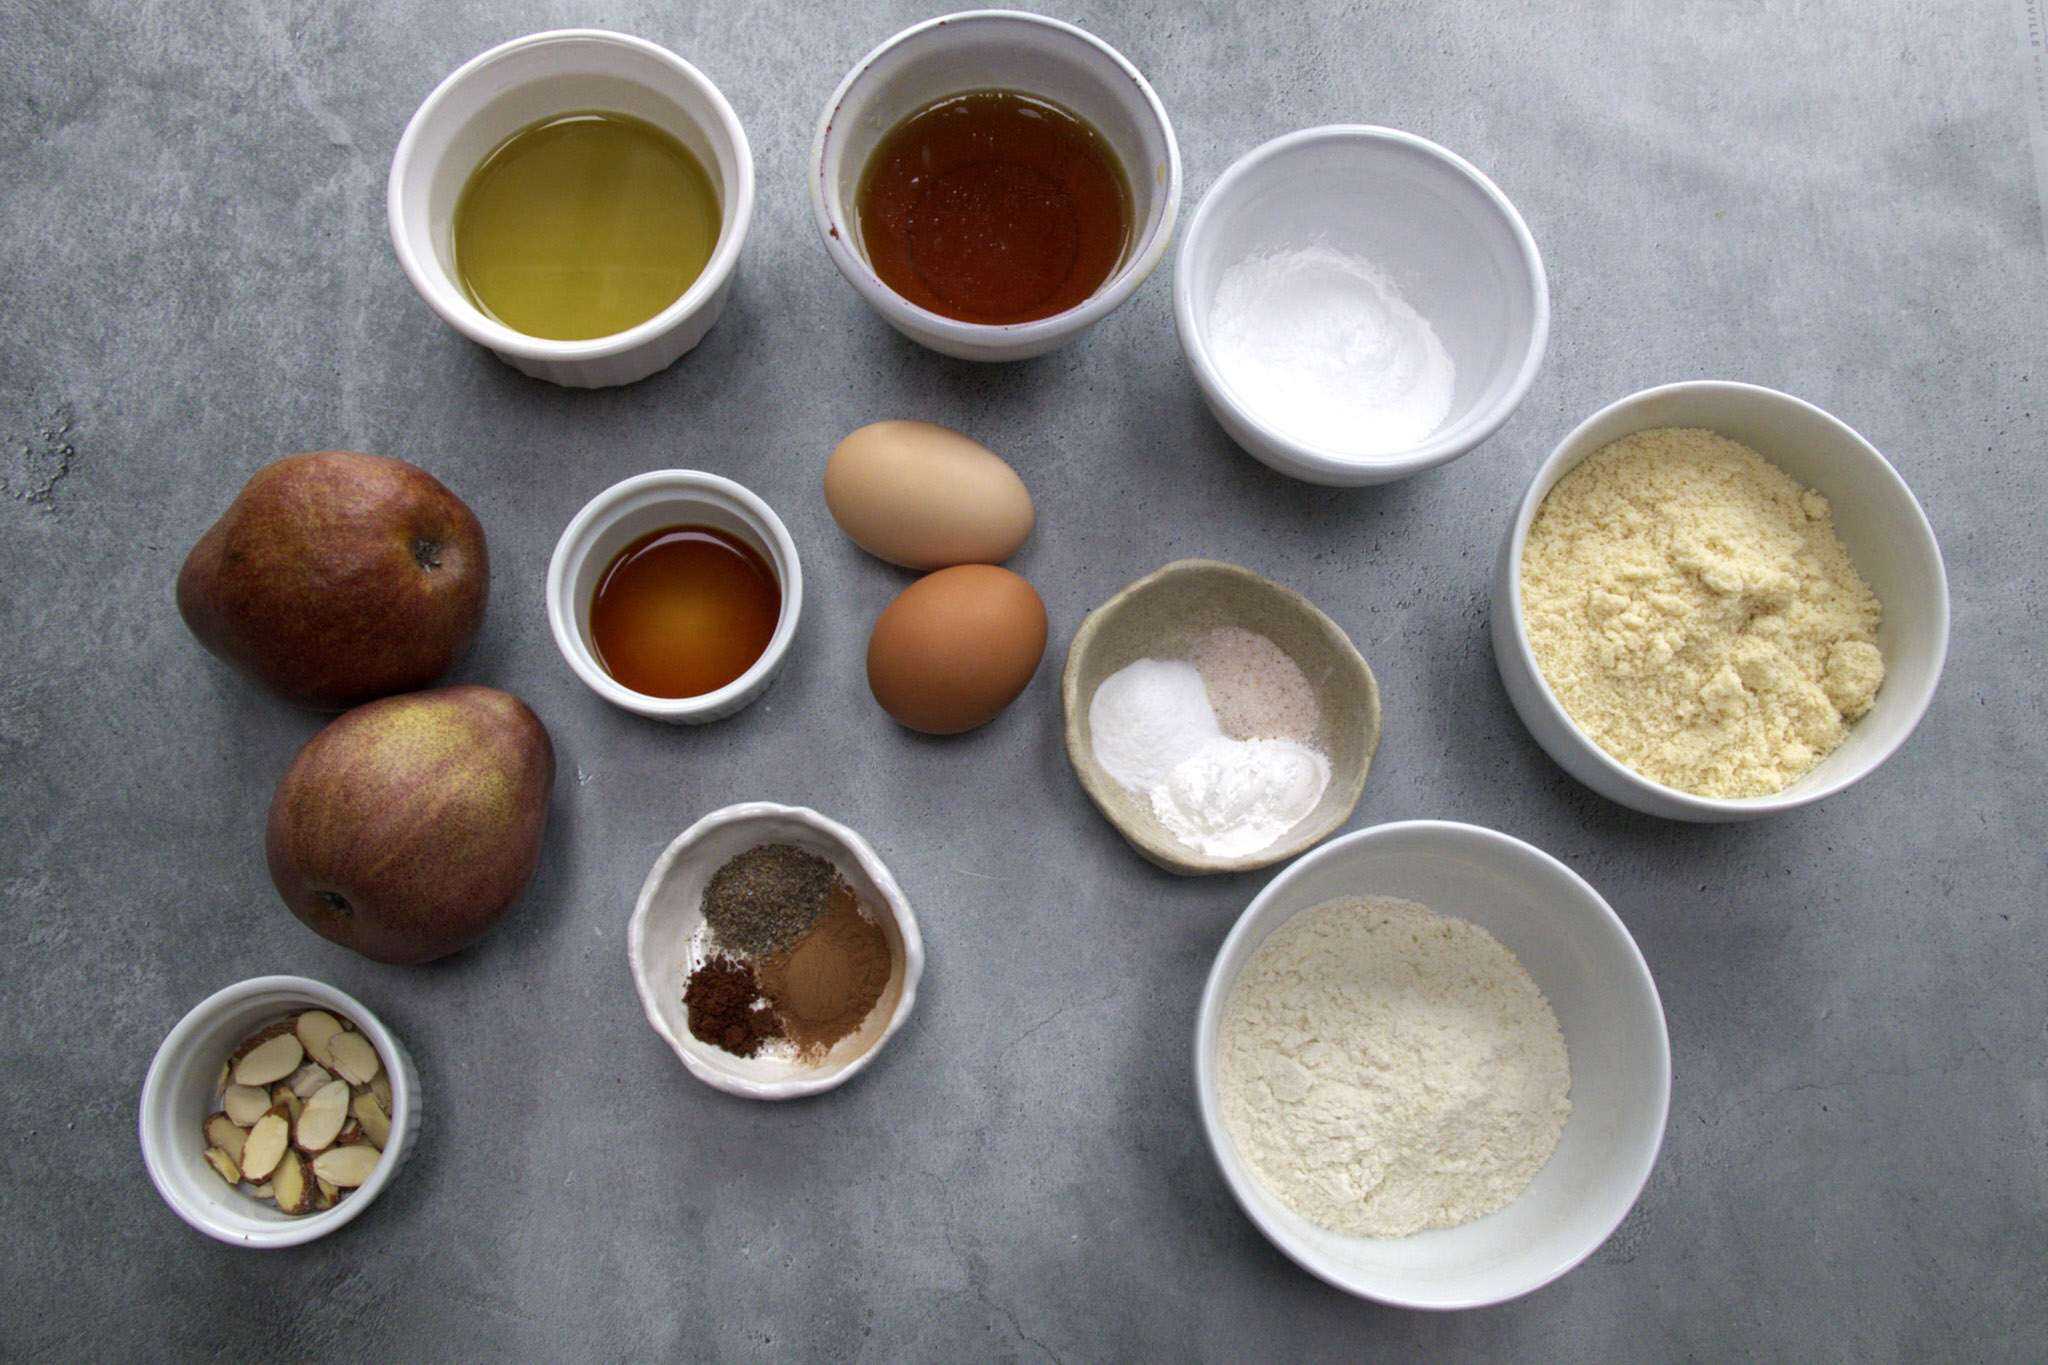
Gather all ingredients: Almond flour, brown rice flour, tapioca flour, baking powder, baking soda, fine sea salt, cinnamon, ground clove, ground cardamom, eggs, avocado oil, maple syrup, vanilla extract, pears and sliced almonds
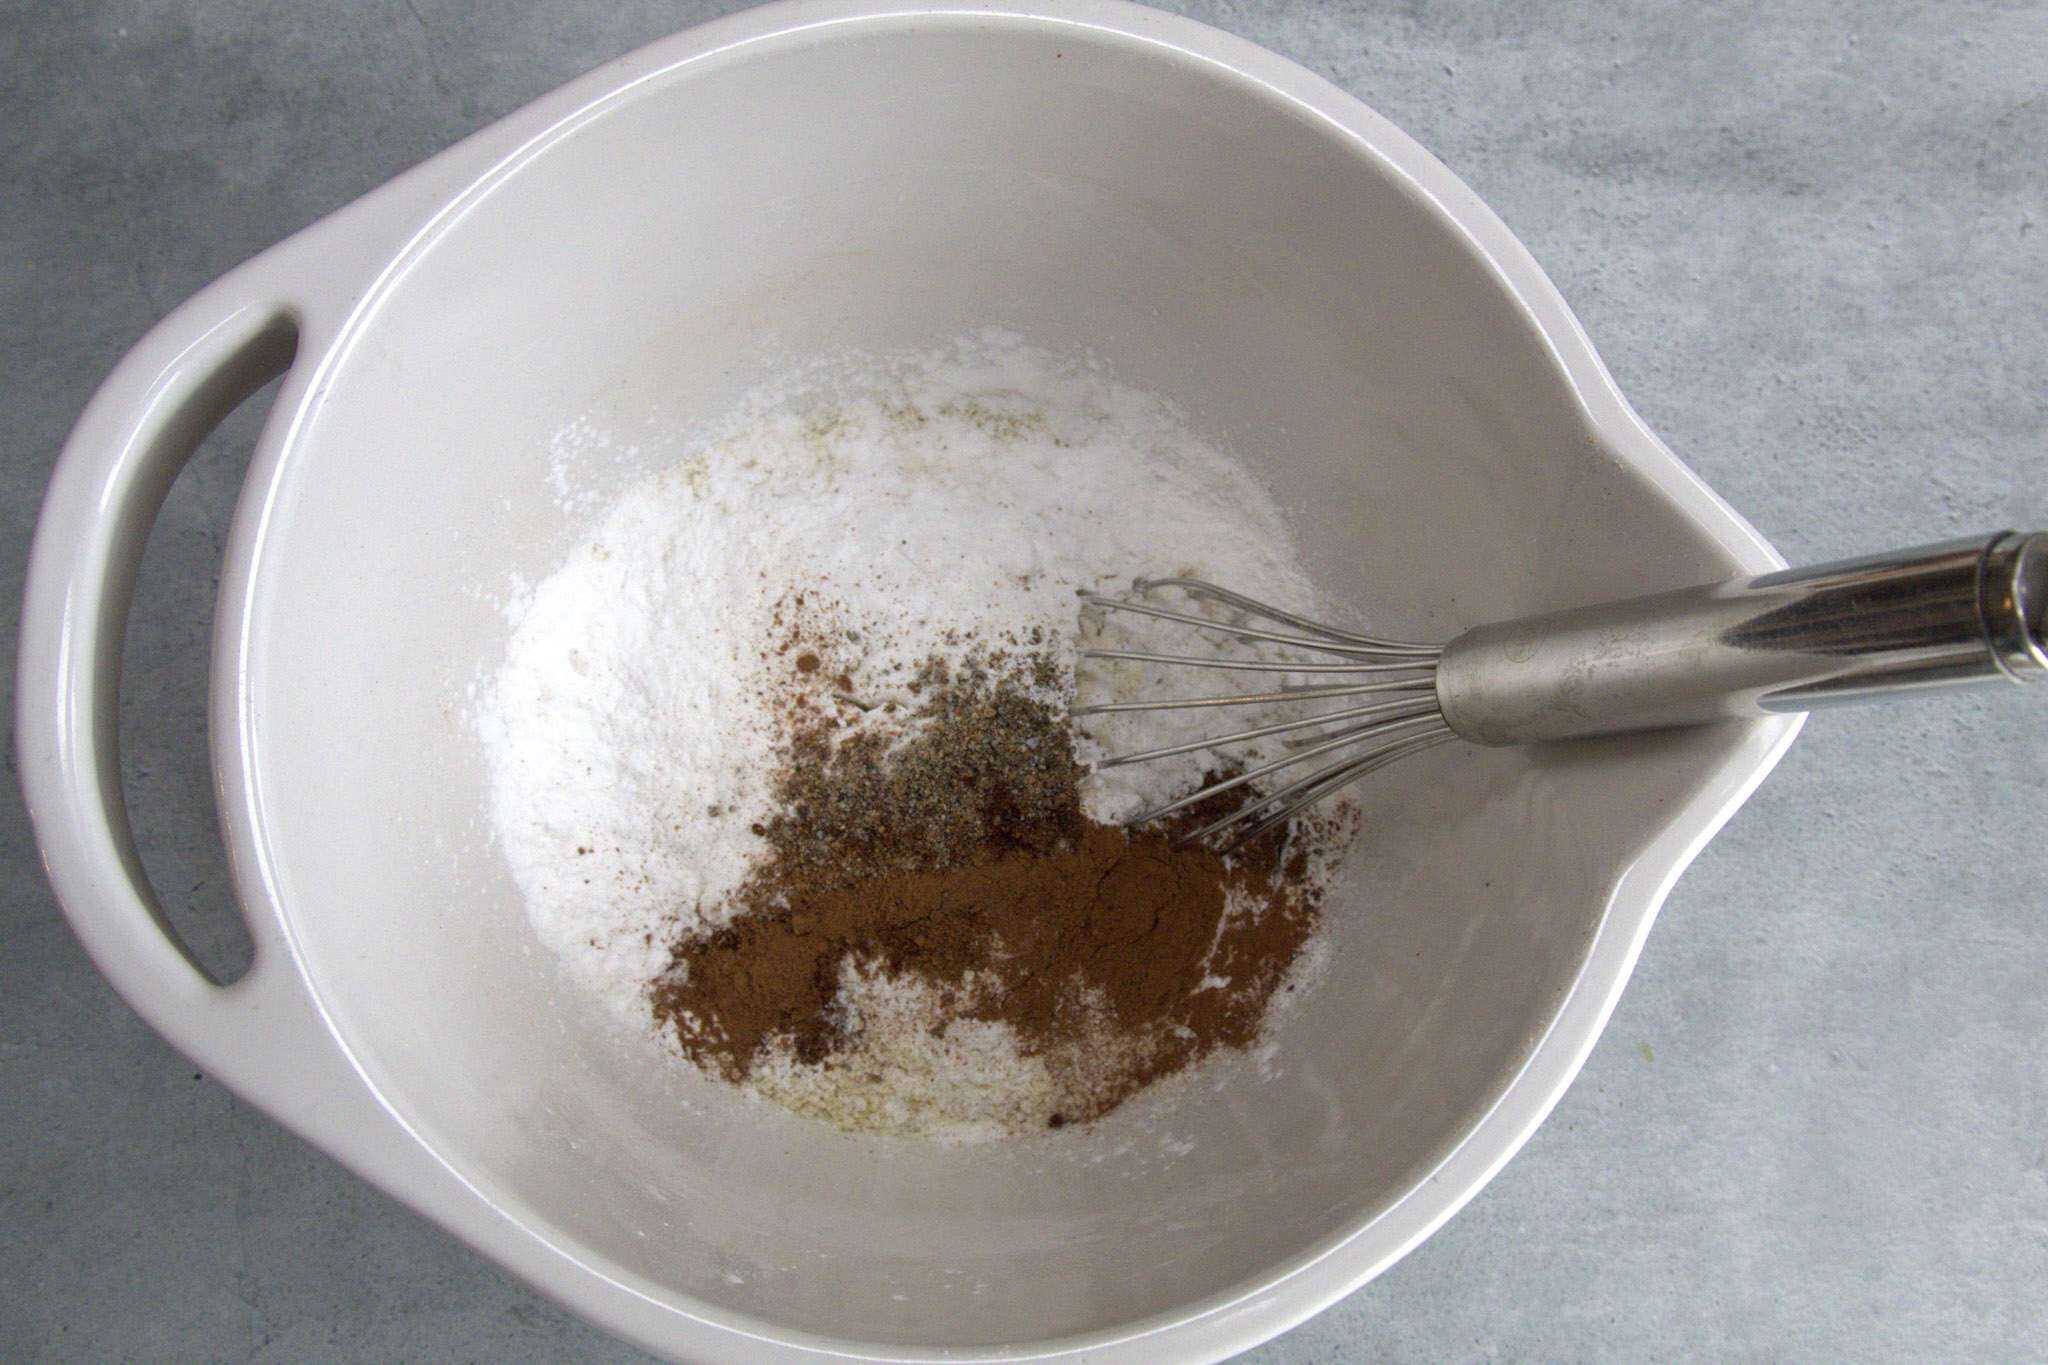
In a medium bowl, whisk together all the dry ingredients.
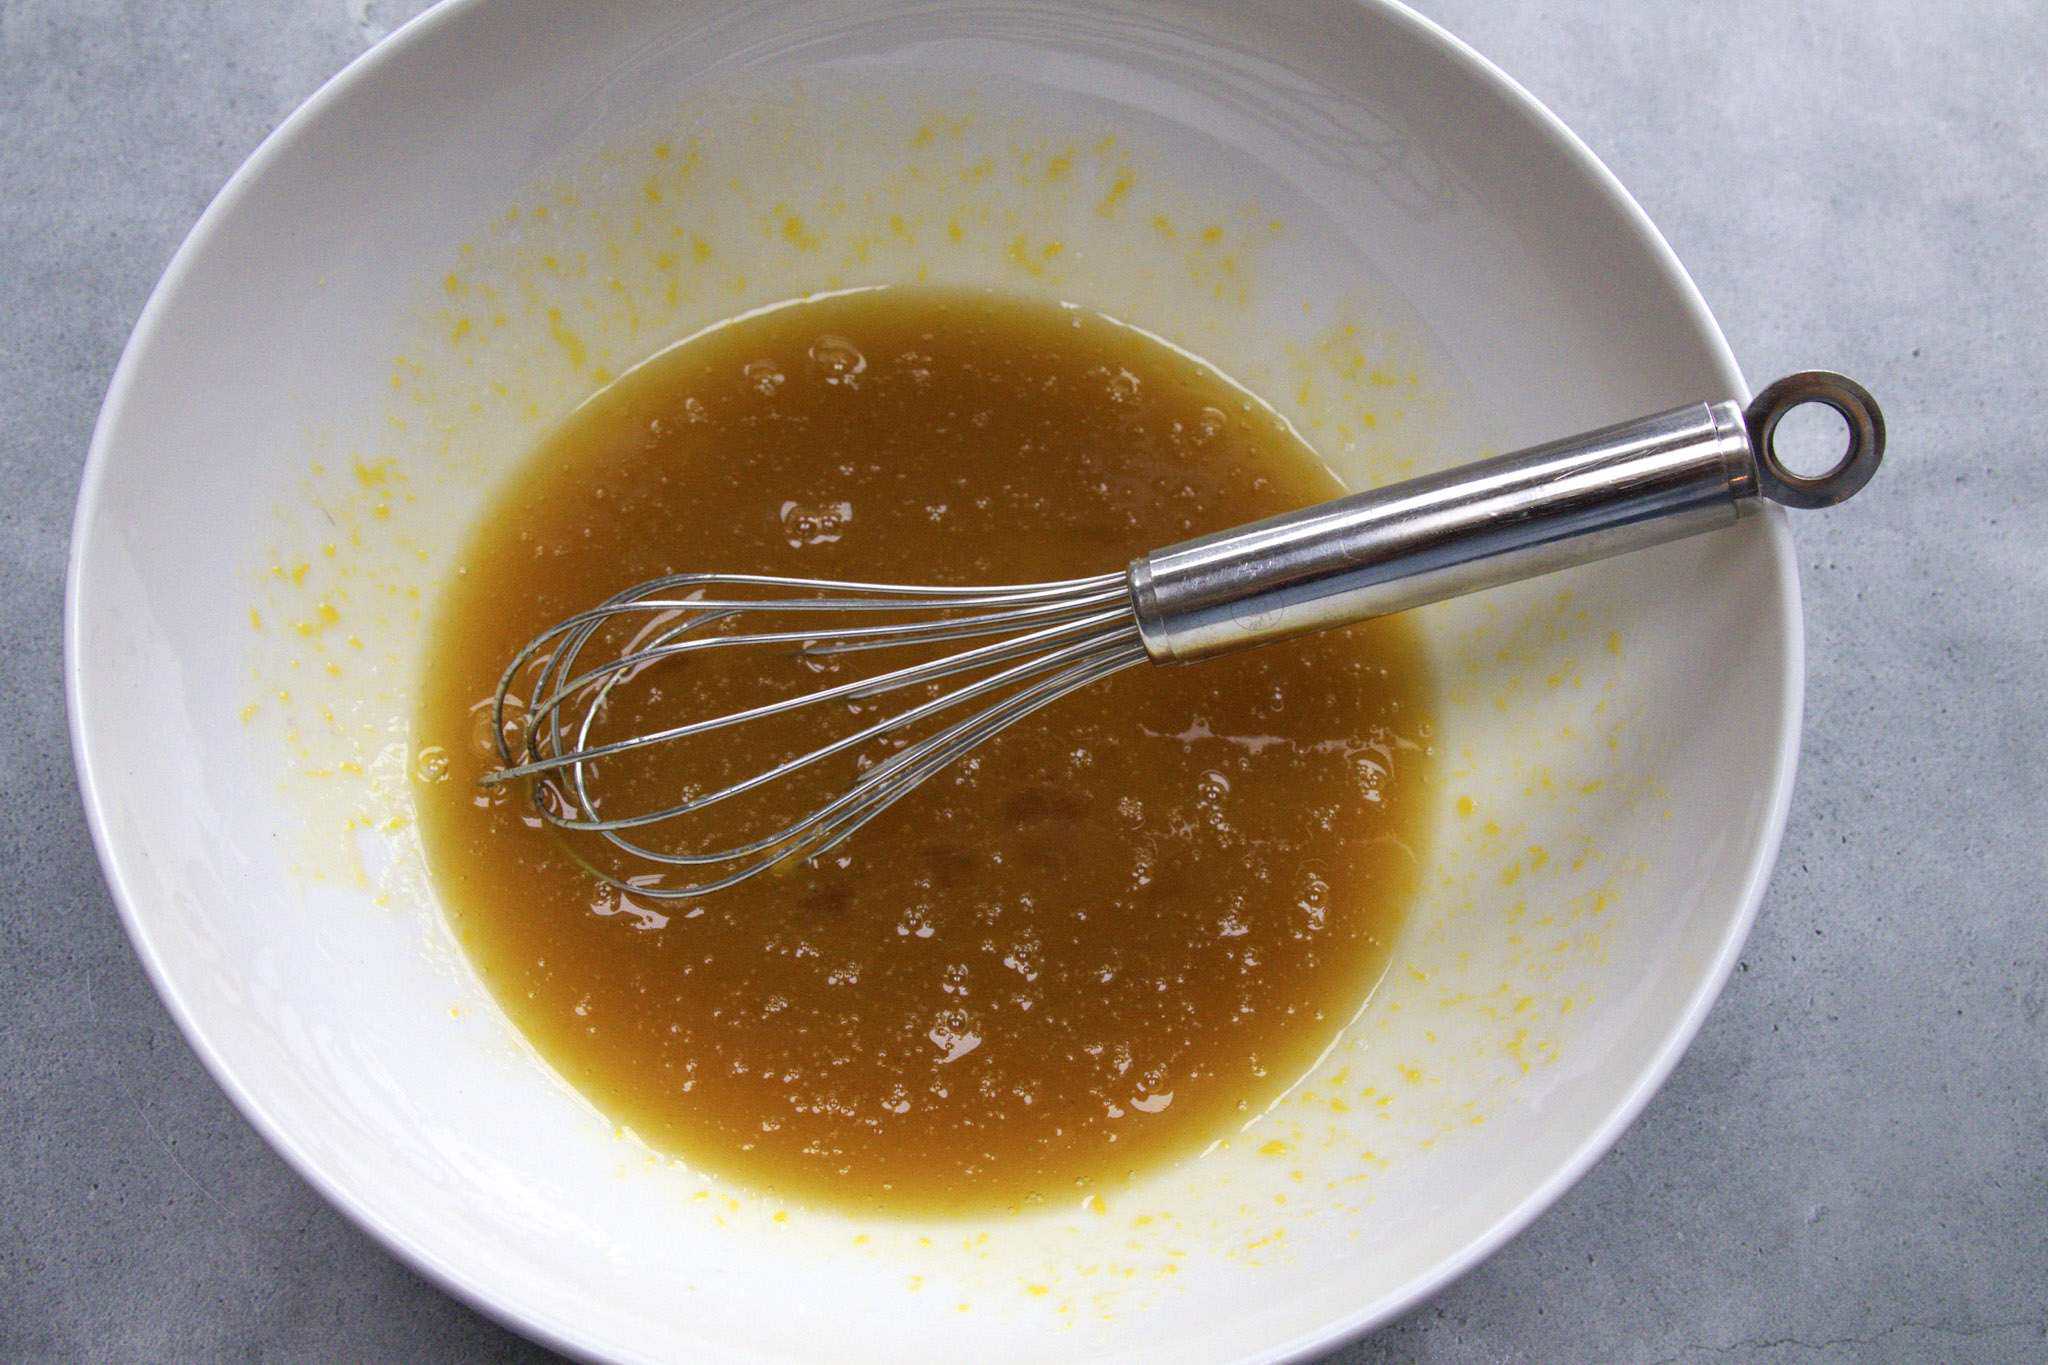
In another medium bowl, combine the avocado oil, maple syrup, two eggs and vanilla extract and whisk until thoroughly combined.
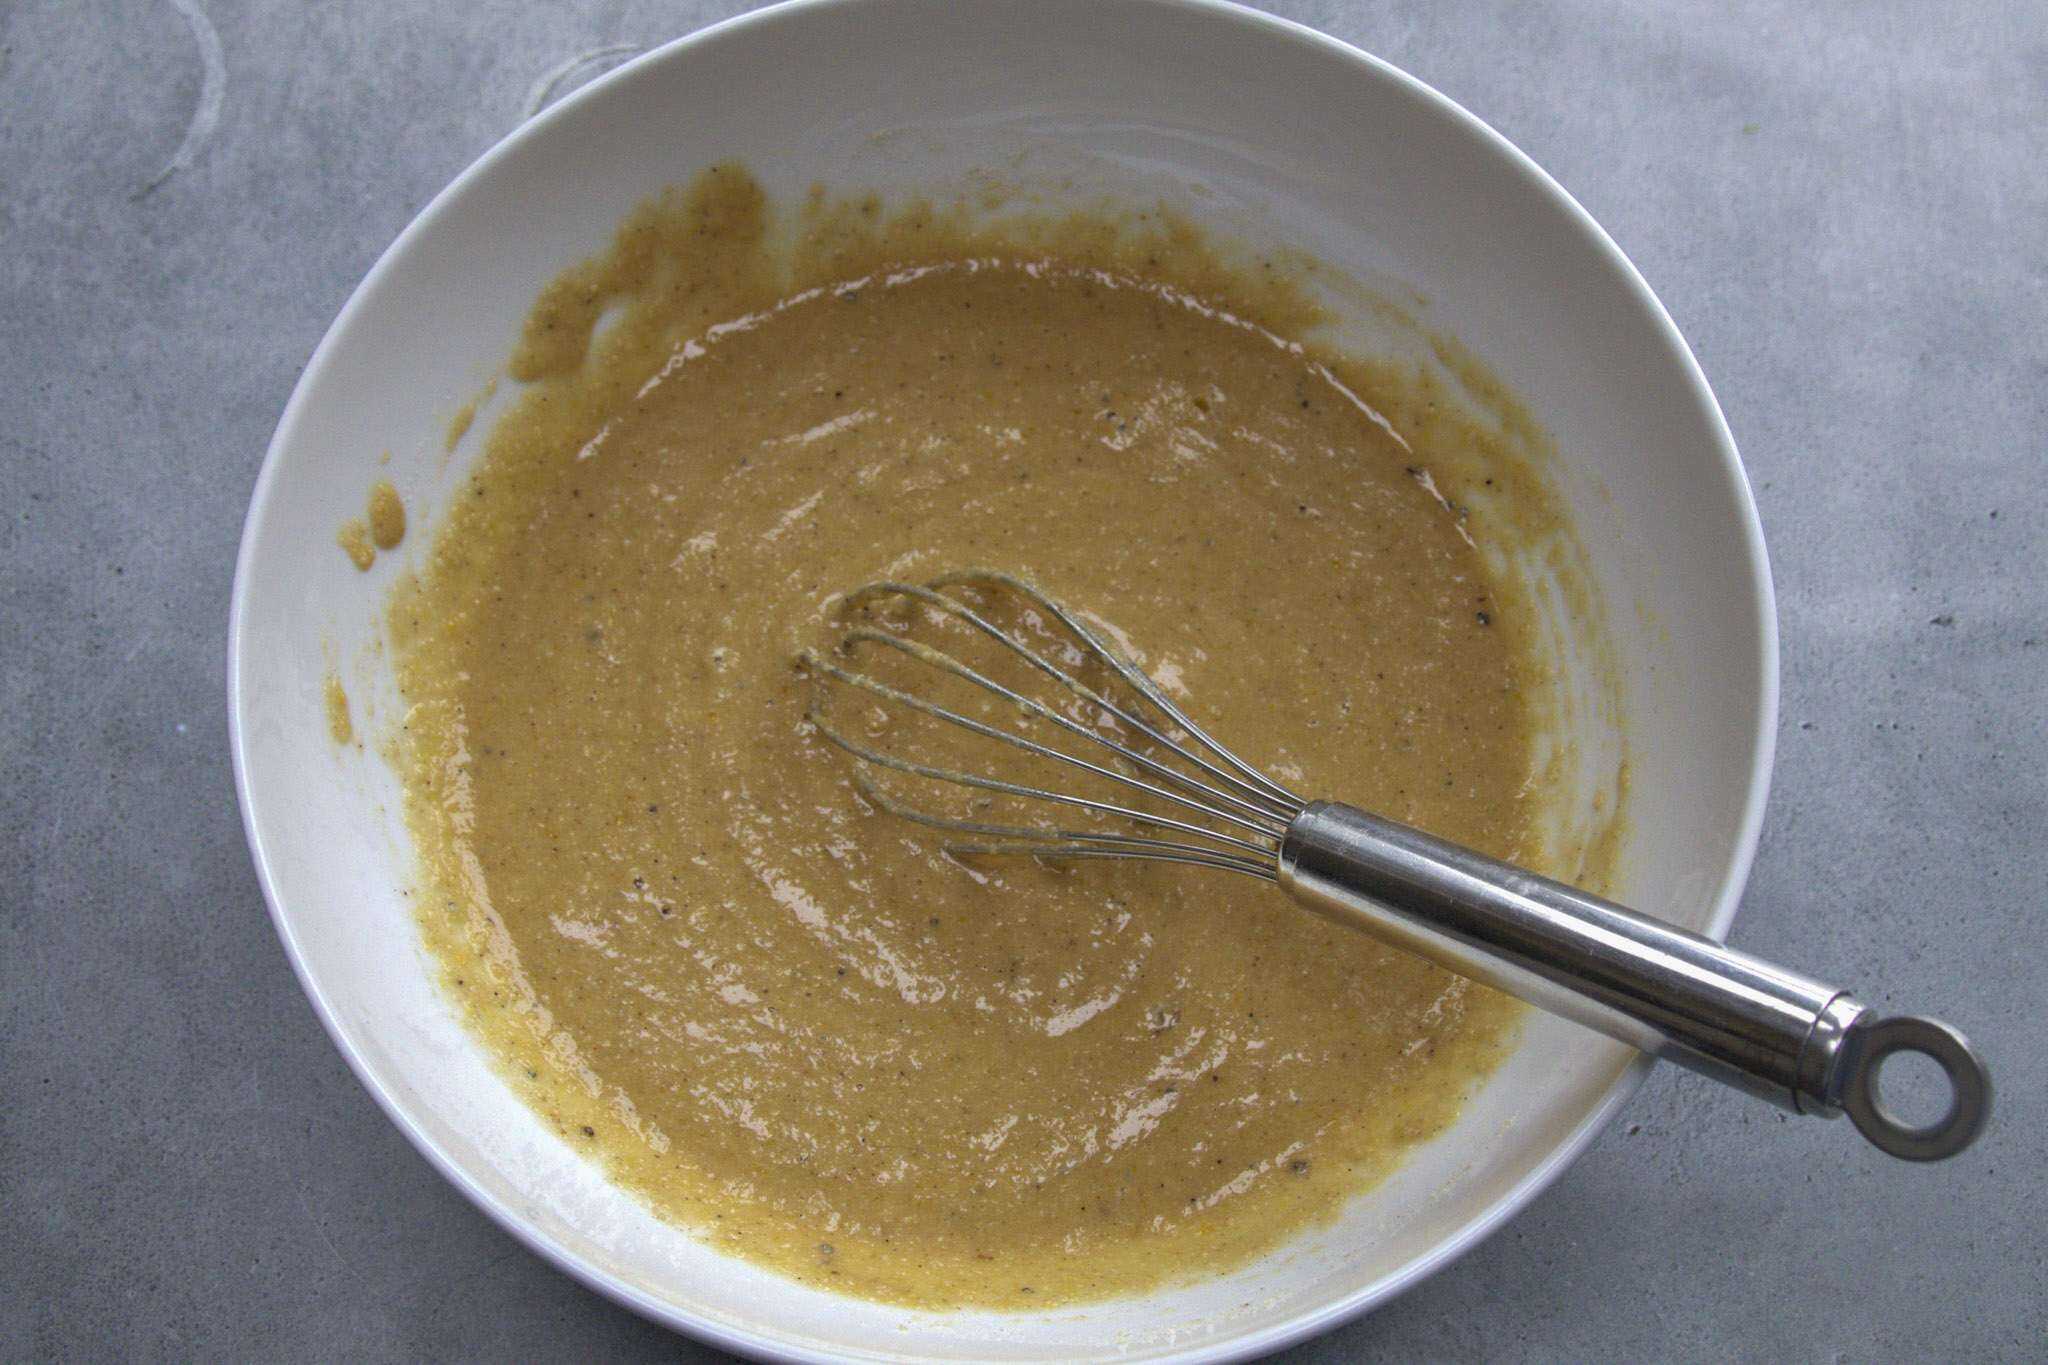
Add in the flour mixture and continue to whisk until you have one smooth batter. Pour batter into the prepared tart pan.
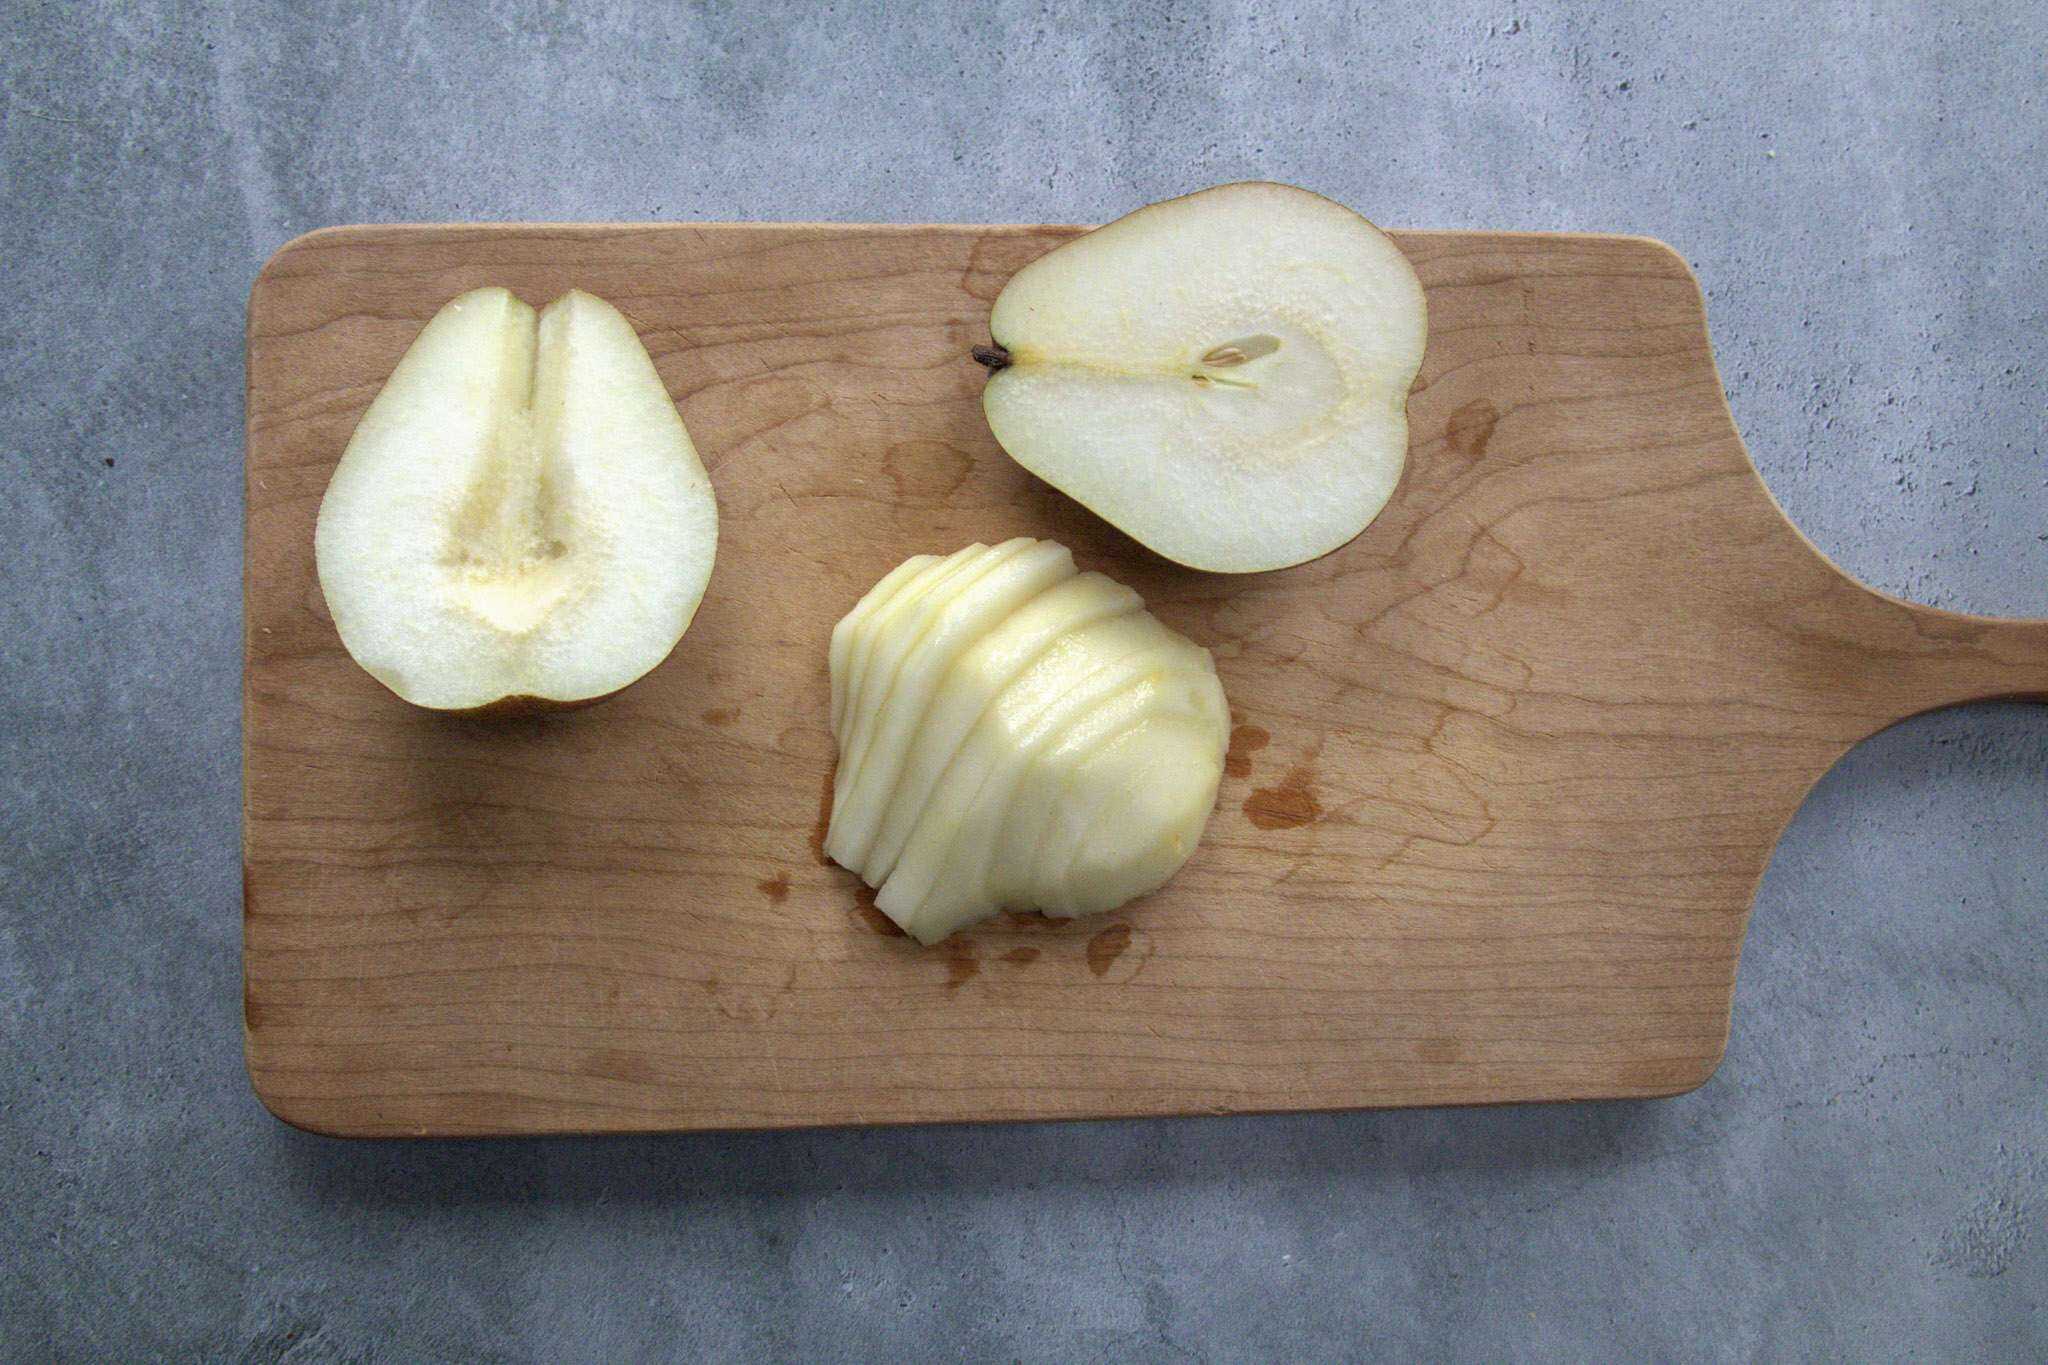
Cut each pear in half, core and peel. Keeping the slices together, cut each half into ¼ inch slices.
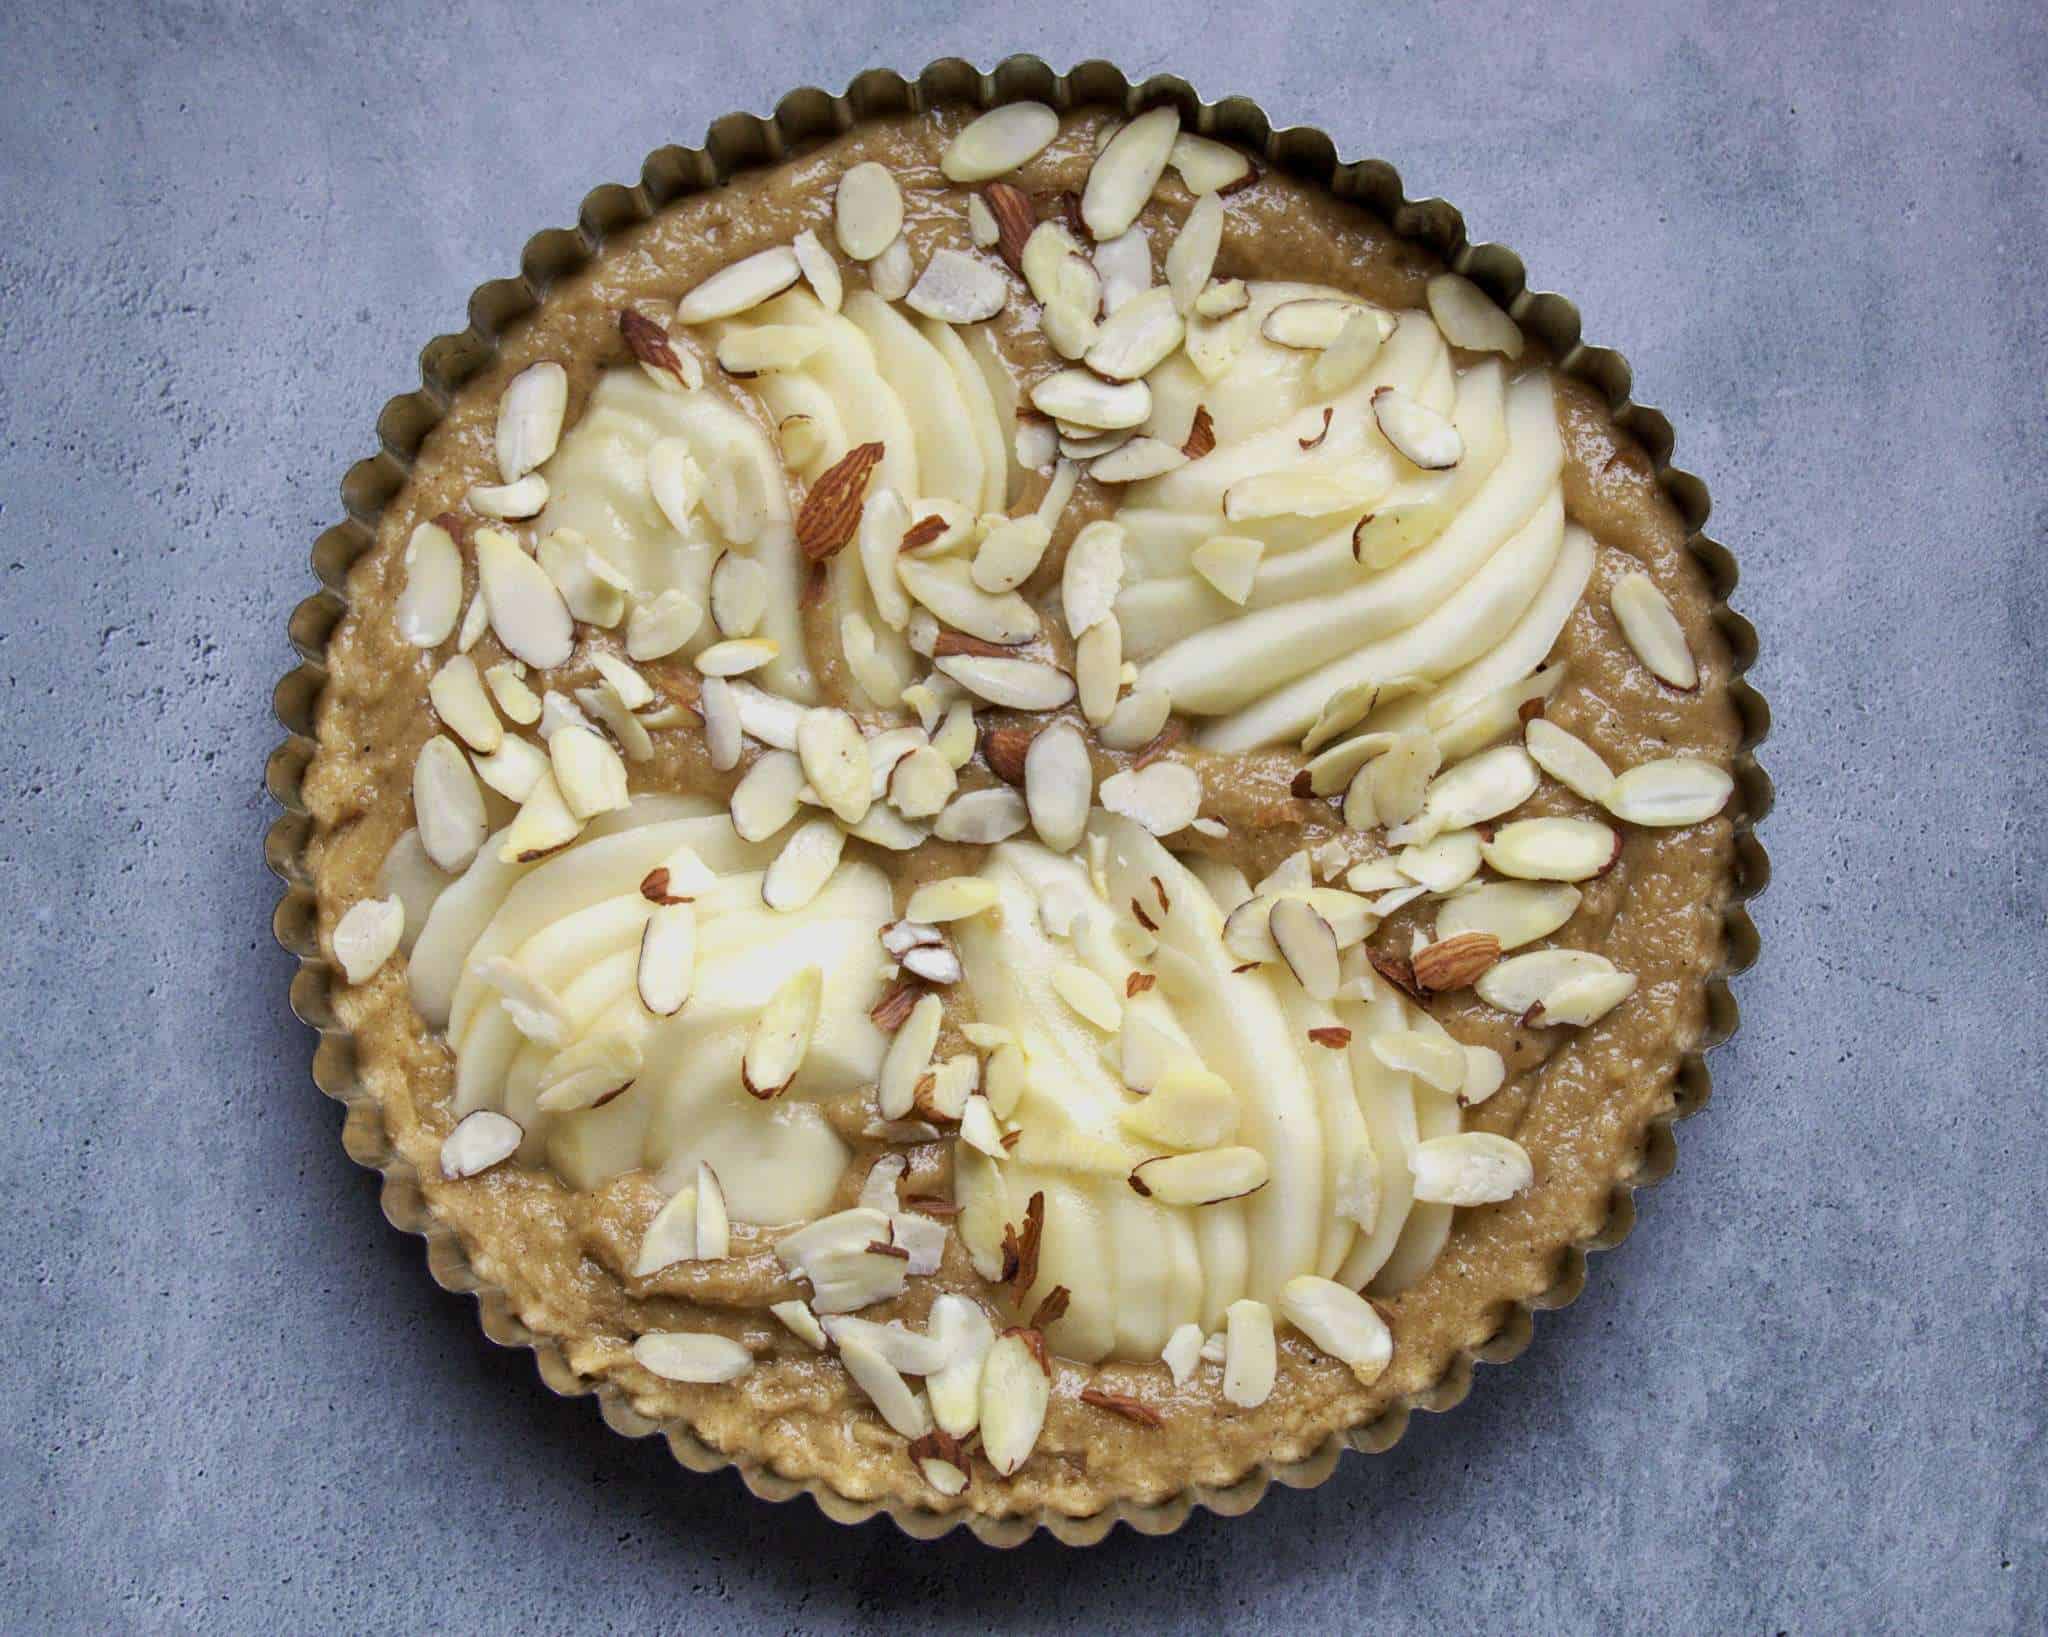
Slightly fan the sliced pear halves out and place on top of the batter. Ever so gently, press the pears into the batter to nestle them into the dough, but ensuring they do not go too deep. Sprinkle the ¼ cup of sliced almonds on top and transfer to the pre-heated oven.
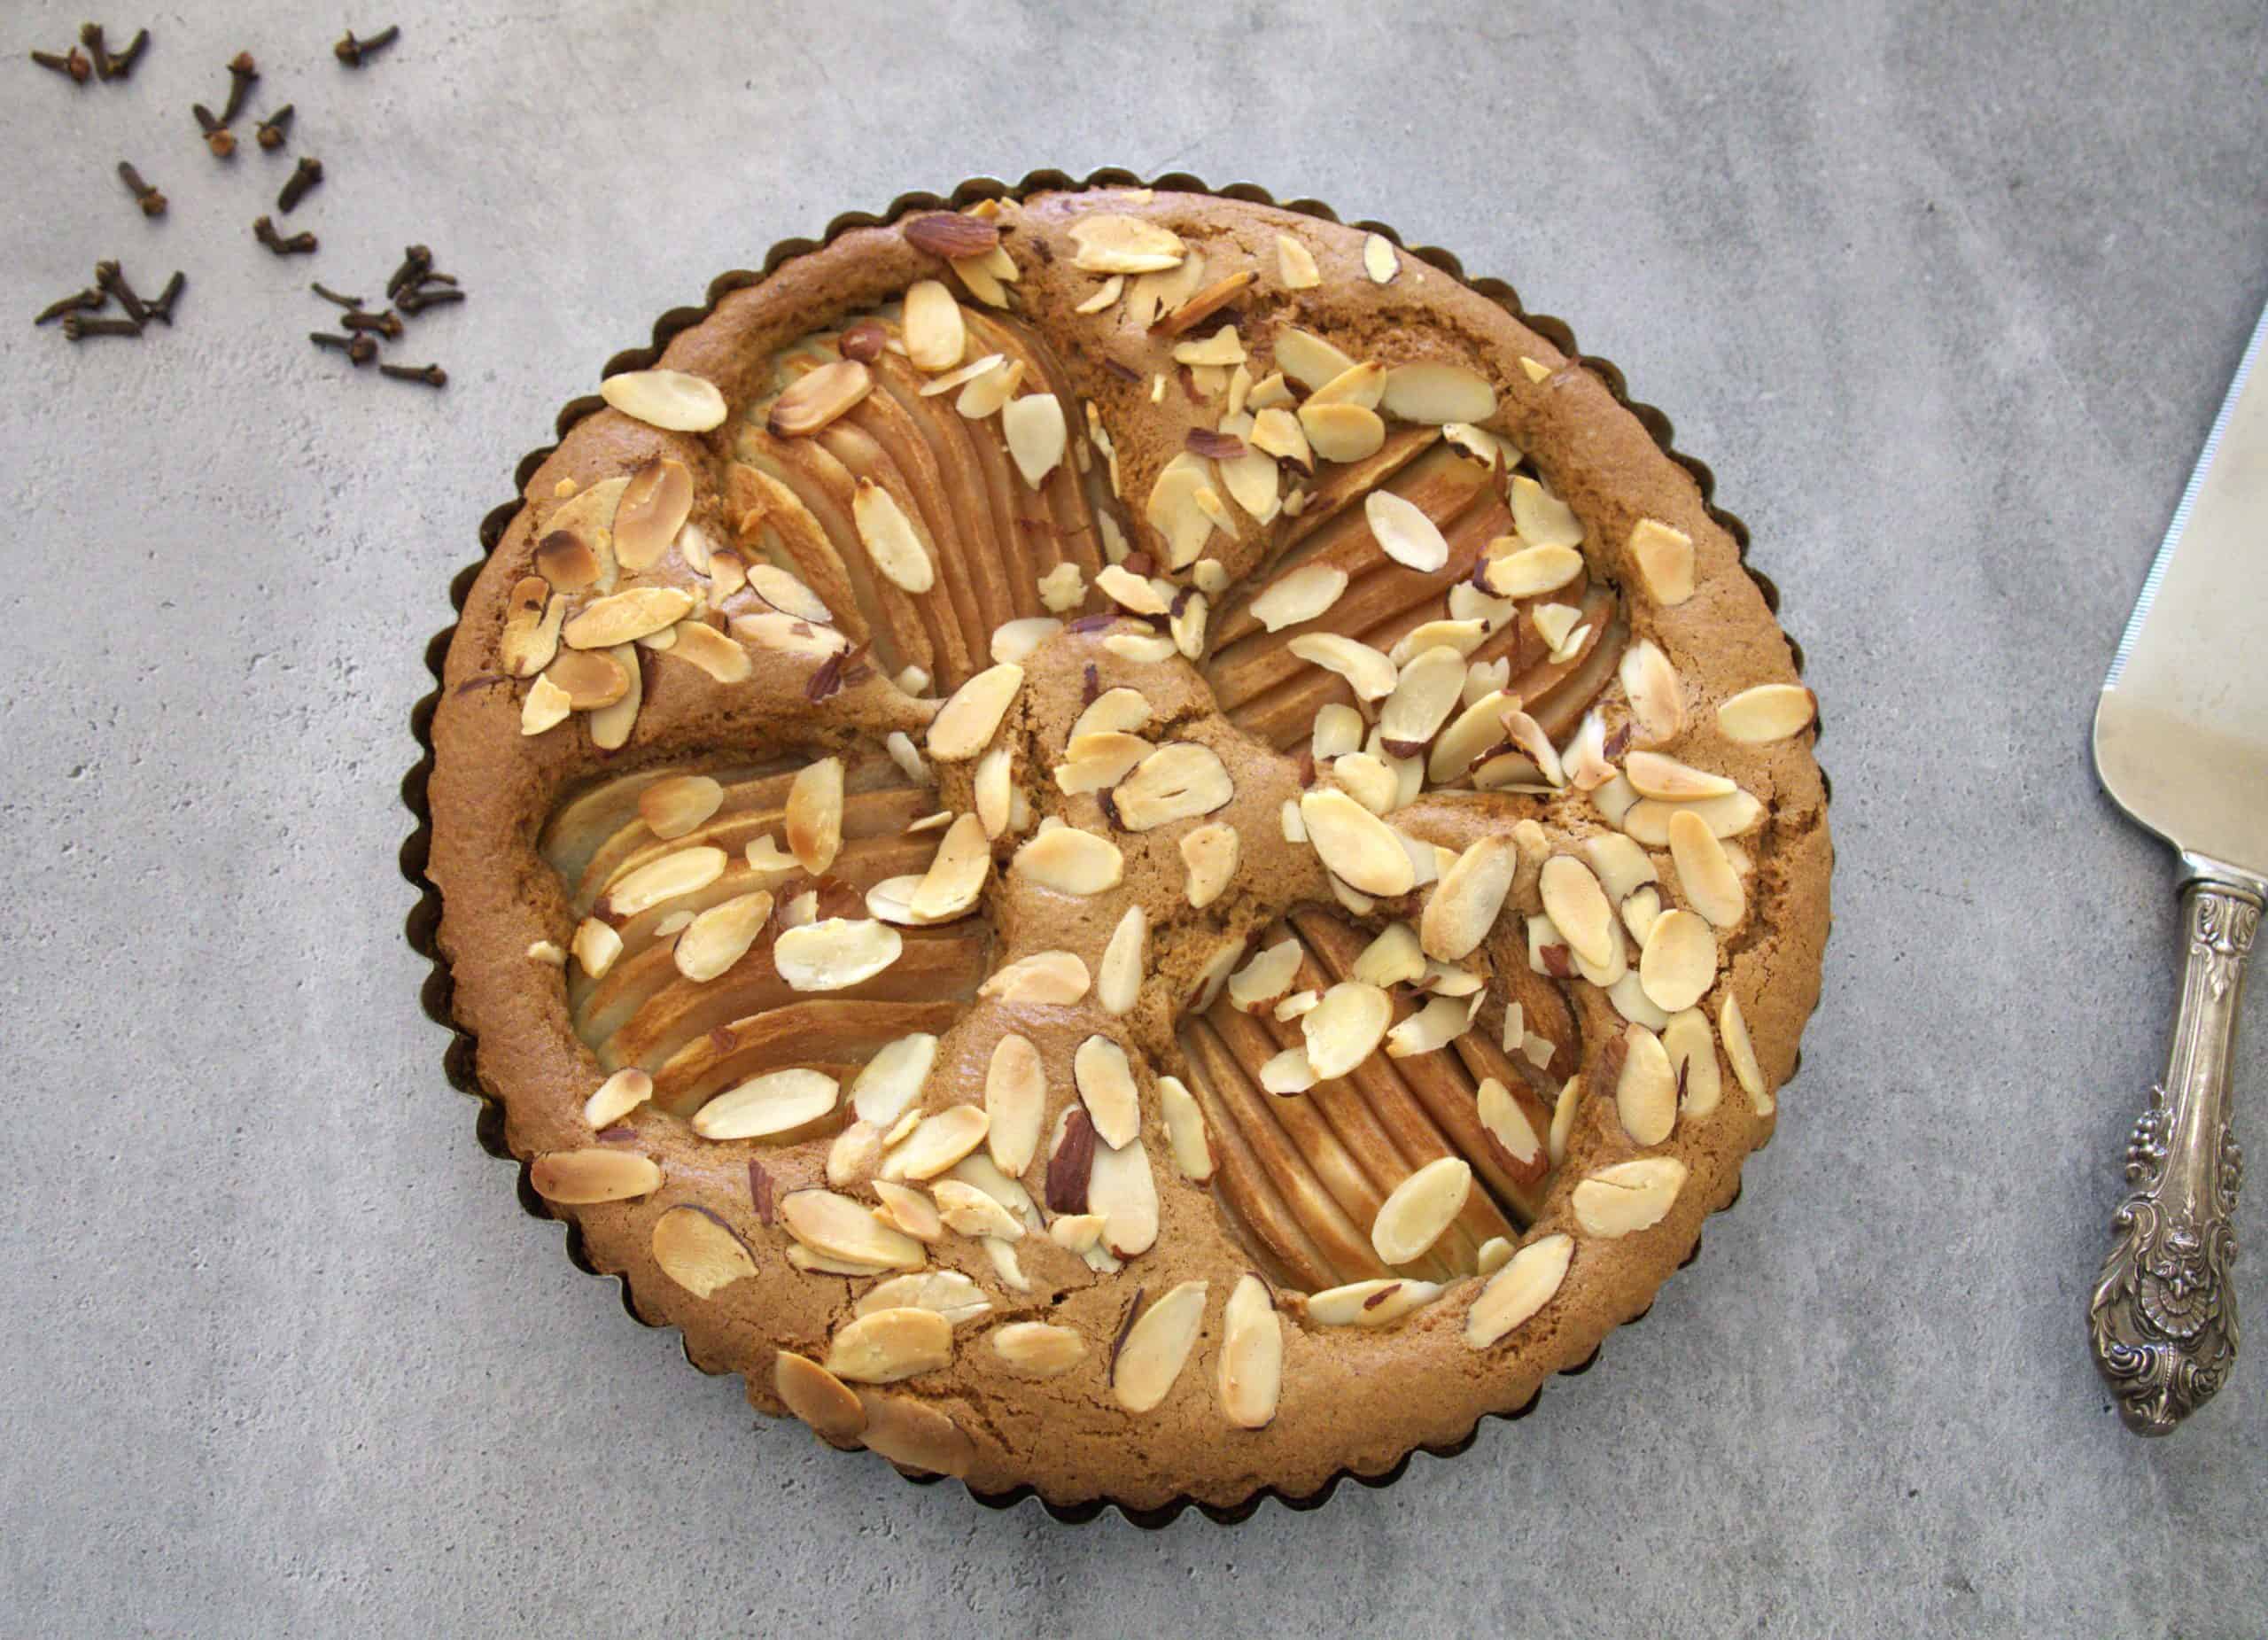
Bake for approximately 25 minutes or until a toothpick inserted into the center of the cake comes out with just a few crumbs. Remove from the oven and let cool for 10 minutes before removing the outer ring of the pan.
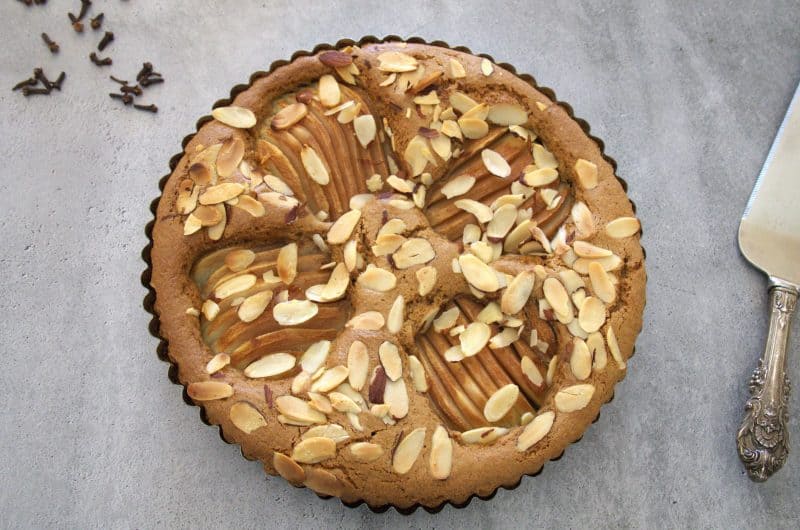
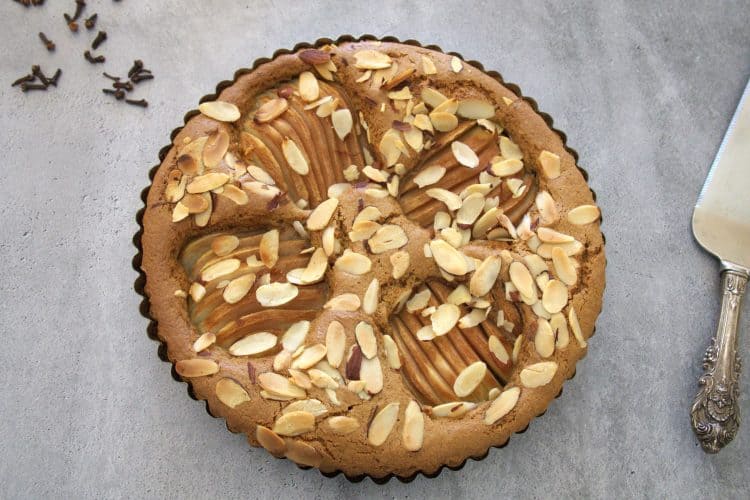
Pear Almond Coffee Cake (gluten-free)
This delicious pear and almond coffee cake makes for a lovely breakfast or afternoon treat or tasty dessert served alongside your favorite ice cream.
12
slices20
minutes25
minutesKeep the screen of your device on
Ingredients
- Dry ingredients
1 cup almond flour
1/2 cup brown rice flour
2 tbsp tapioca flour
1 1/2 tsp baking powder
1/2 tsp baking soda
1/2 tsp fine sea salt
1/2 tsp ground cinnamon
1/2 tsp ground cardamom
1/4 tsp ground cloves
- Wet ingredients
1/3 cup avocado oil or mild extra virgin olive oil (extra for greasing the pan)
1/3 cup maple syrup
2 eggs
1 tsp vanilla extract
- Additional ingredients
2 ripe, but firm pears*
1/4 cup sliced almonds
Directions
- Preheat your oven to 350F and lightly grease a 9.5- or 10- inch tart pan** with avocado oil.
- In a medium bowl, whisk together the almond flour, brown rice flour, tapioca flour, baking powder, baking soda, fine sea salt, cardamom, cloves, and cinnamon.
- In another medium bowl, combine the avocado oil, eggs, vanilla extract, and maple syrup. Whisk until thoroughly combined. Add in the flour mixture and continue to whisk until you have one smooth batter. Pour batter into the prepared tart pan.
- Cut each pear in half, core and peel. Keeping the slices together, cut each half into ¼ inch slices. Slightly fan the sliced halves out and place on top of the batter. Gently press the pears into the batter to nestle them into the dough, but ensuring they do not go too deep. Sprinkle the ¼ cup of sliced almonds on top.
- Transfer to the oven and bake for approximately 25 minutes or until a toothpick inserted into the center of the cake comes out with just a few crumbs.
- Remove from the oven and let cool for 10 minutes before removing the outer ring of the pan. Serve at room temperature.
Notes
- *It is really important that the pears you use are firm. If they are too juicy, they may release excess liquid during the baking process, which can impact the batter, causing it to not properly bake and to spill over the edges of your tart pan, rather than to rise evenly. If you think your pears may be too soft, you can try to first dry them out a bit by baking the sliced pears on a baking sheet at 350F for 10-15 minutes until they begin to look a little drier and the edges start to soften and then add them to the batter.
- **If you do not have a tart pan, you can use a springform pan instead. Most importantly, use a pan that has a removable outer ring. Alternatively, you can also make multiple little tartlets. If using 5 inch tart pans, this recipe will make 6-7 tarts. Do not overfill the pans if doing this to avoid overspill, as the batter will rise during baking and small tart pans usually have lower edges.

)
fantastic
I am so glad you tried this recipe and love it!